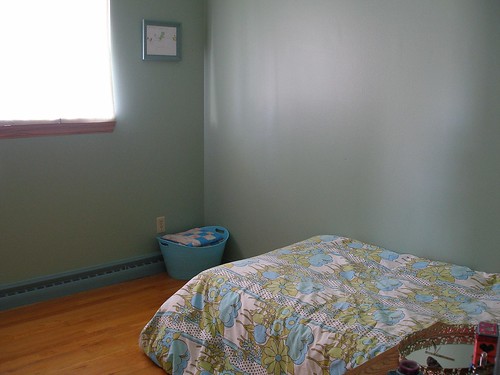
One of the main things that Randa wanted to incorporate into her new bedroom was a chalkboard painted on the wall. We used
Martha’s recipe which allows you to mix it using any paint color you'd like. It is really so simple to do and I love that I was able to match it to the color of the room.
 Materials
1 cup FLAT paint
2 tablespoons unsanded tile grout.
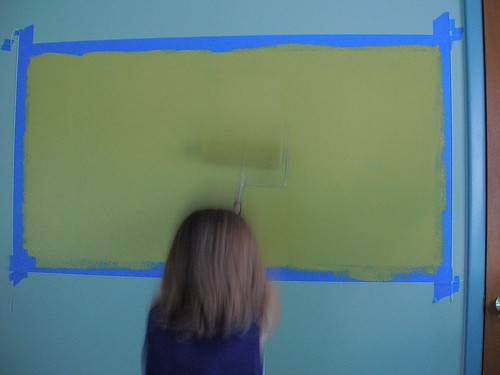
You mix them together and paint your surface. It came out well, with one modification. I used a paint roller to apply it. I found this to be necessary because I had a hard time getting the grout mixed in completely. It just wanted to stay all clumped up. As I stirred and stirred, it started getting thicker, but the chunks of grout remained. I was worried that the whole thing would harden up before I ever got it on the wall. So I just decided to finish mixing it directly on the wall. I rolled it on and then rolled over and over and over pressing firmly until all the clumps just got smooshed out. Does that make sense? It’s basically the way you’re not supposed to paint walls, if that helps clarify things.
I suppose if you had one of those
paint mixer dealies that you can use with a drill that would probably solve the problem too.
Update #1-I've since learned that if you mix the grout with just a smidge of water, enough to make a thin paste before you add the paint a bit at a time, that you won't end up with so many lumps.Update #2-Since the first update, I've learned that for some reason, mixing it with water actually seems to make the surface somewhat incompatible with chalk markers, which I have come to adore. Instead of mixing the grout with a small amount of water, it works best to mix it with a small amount of paint first. Breaking up all the lumps is much easier if you're working with a couple of tablespoons instead of the entire cup. Once it's smooth, mix in the rest of the paint.
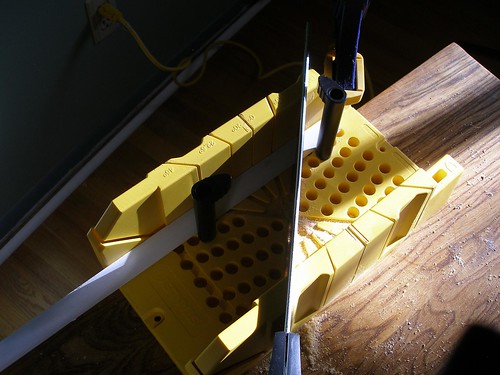
Taping Tips-To get nice straight lines, I
taped up string first and then I ran the
lines of tape.
-For the vertical lines I attached the paint can opener (or anything heavy) to the end of the strings to make the line plumb, then taped it in place once it stopped swinging.
-To get the rounded corners, I cut a piece of thick junkmail to the right shape and used it as
a guide to cut pieces of tape on a self healing mat.
(Joey was a big help.)
Other Tips-I did clean the roller outside because I was none too keen to be putting grout down our pipes.
-We did two coats, which worked fine.
-After it dries, it's important to condition the chalkboard before using it, especially if you're using chalk ink markers. You can do this by rubbing the side of a piece of chalk all over the surface. I've found that using a big piece of white, sidewalk chalk is easiest.
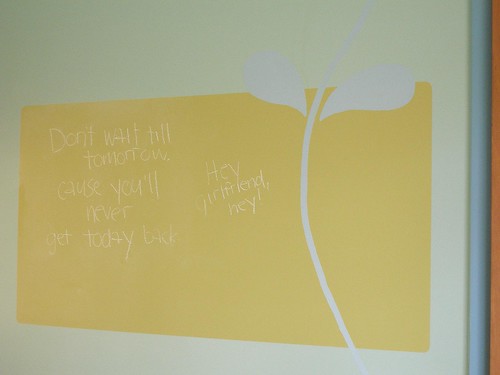
I think this stuff works even better than the pre-made chalkboard paint. It’s certainly prettier. And the chalk wipes off very easily.
Yes, it's functional. Woo hoo!
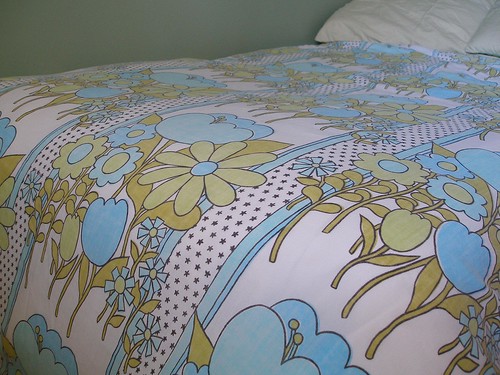
We originally had plans to do all kinds of different shapes and colors on the wall, but in a moment of self-restraint, we decided to go with a single vine design pulled from the
retro inspiration fabric. I drew it on with pencil, but Jenny was the pro that filled it in with paint. (I had some issues getting a completely smooth line.)
I love it.
---------------------------
Related Posts-
Embroidered ShadeBaseboard Trim