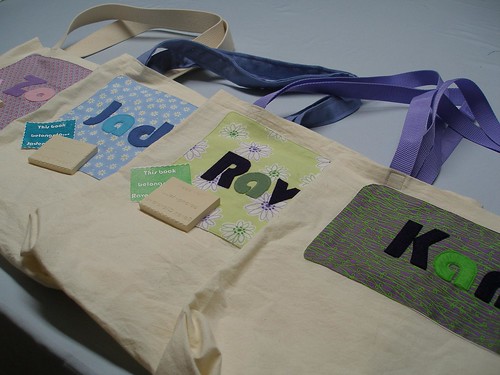
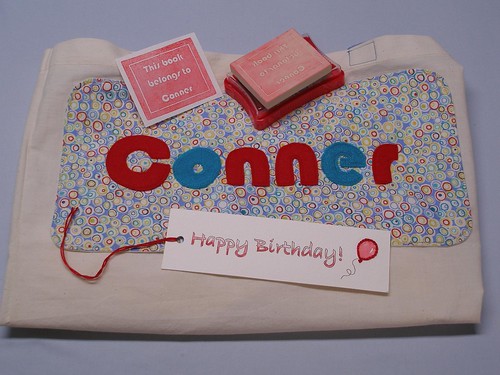
Here is the tutorial for how to make the library bags to go with the
bookplate stamps. Sometime next week I'll have one more tutorial to round off this book-themed gift set.
Note- This is a pretty long tutorial. It is because I am somewhat overly detailed. As for how long it takes to actually make these, I would estimate it at about 2 hours each. Maybe 3. It isn't super quick, but isn't too bad either. I think it's totally worth it for such a useful, personalized present. The kiddos who got these for Christmas really love theirs, so much so that they want to make them as presents for all of their friends.
Also since making one of these for Joey, we have spent A LOT less time searching for her library card because it is always in her bag.
I know. Wow.
 How To Prepare
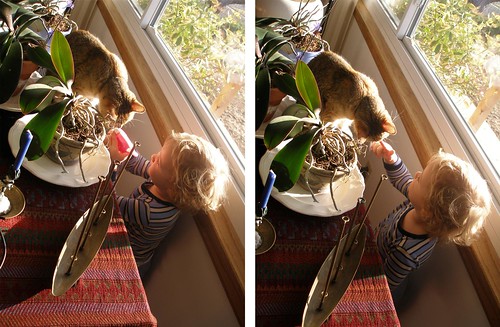
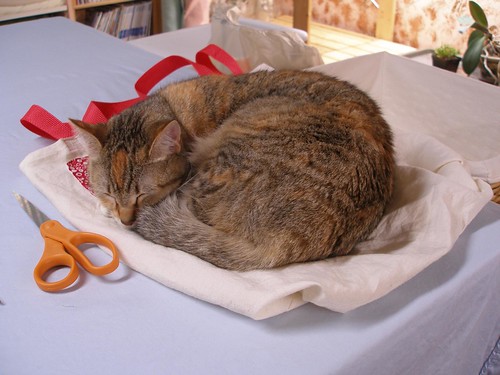
-First of all, get
a cat to lay down on the prototype bag. This is especially amusing if her comfy, little, kitty basket is right behind her, put there specially so she won't climb on the sewing table.
 Materials
-One piece of plain fabric for the bag, 17" by 36" (using these measurements allowed me to cut a piece of fabric from selvage to selvage, so I didn't need to fold or hem the short edges.)
-One piece of felt for the pocket, 4" by 7". I suggest you use actual wool felt for this, not the cheap craft stuff, which won't hold up very well.
-More felt for letters
-Freezer paper
-One piece of decorative fabric, 7 x 14 inches
-One piece of plain white fabric, 7.5 x 14.5 inches
-Matching webbing for handles, or enough fabric to
sew your own-Either self-adhesive velcro or a button (to keep the pocket closed)
-Thread to match
The Library Card Pocket-Take the 4" by 7" rectangle of felt and iron so it folds up like this (creases at 1.5 inches from the top and 2.5 inches from the bottom)
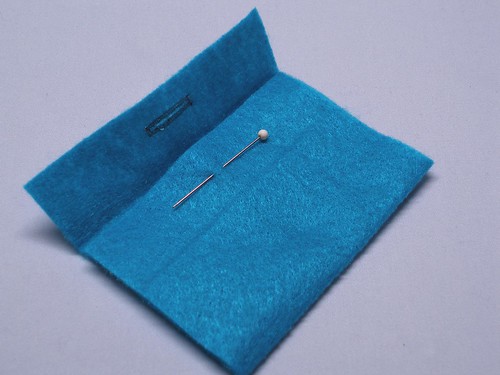
-If using a button, go ahead and sew a buttonhole on the top flap of the rectangle. (I had never sewn a buttonhole until I did this right here. It was brilliant.) Then sew on the button.

-Center the pocket on the plain bag fabric, about 6 inches down from one of the short edges.
 -Use a glue stick to glue the back of the pocket to the bag. (Now I know that this will probably get me banned from seamstress conferences, but I saw it on the Green Kitchen blog used for sewing zippers and it works really well here too. It holds things in place without using pins, which tend to buckle up the fabric and drive me bonkers. It is especially helpful for the letters because the pins are really fiddley to sew around.
)
-Iron the pocket to set the glue.
-Using an 1/8th inch seam allowance, sew the pocket to the bag, like so.
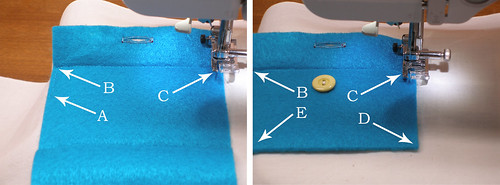
-Open the pocket up, start at A, sew to B and then over to C.
-Fold bottom of felt up and sew from C to D to E and back up to B. Backstitch.
-If you're using velcro instead, you can attach it now. Or do it later. Whatever. I'm easy.
Cutting Out the Letters (aka- behold the awesomeness of freezer paper)
-I printed up the names in Bauhaus 93, outlined font (Same as
the bookplates. I love me a theme, especially within a theme.) Doing it in outline keeps it from printing a bunch of giant, ink-wasting letters. Also, since you'll be tracing these, you don't need to print more than one of each letter. (A fact I didn't realize until after I'd printed 3 sheets.) I did these at a font size of 240.
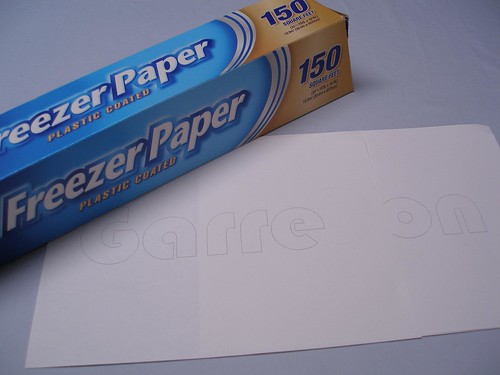
-I traced these onto the freezer paper, all squooshed together. It was a bit like Tetris, but you can move the shapes horizontally as well as drop them vertically. Very satisfying for those of us with a slight case of OCD.
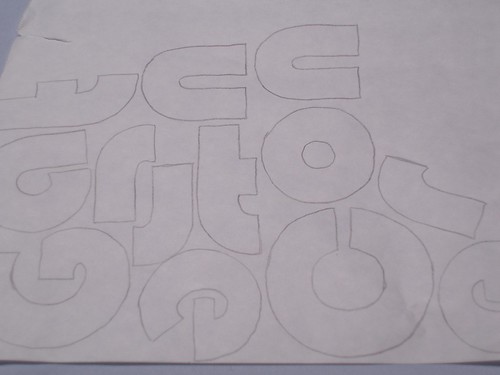
-If I'd have been thinking clearer (or my OCD had been working properly), I would have separated the letters into two different groups (one for each color). If you do this, just make sure that you leave enough space between the two groups of letters.
-If you do have your letters grouped by color you don't need to cut the freezer paper first like the pictures, just place on the pieces of felt as is.
-If you didn't separate out the colors, rough cut out the letters and place them, shiny side down, on the felt.

-Cover with a press cloth and iron (on medium) for between 5 and 10 seconds.
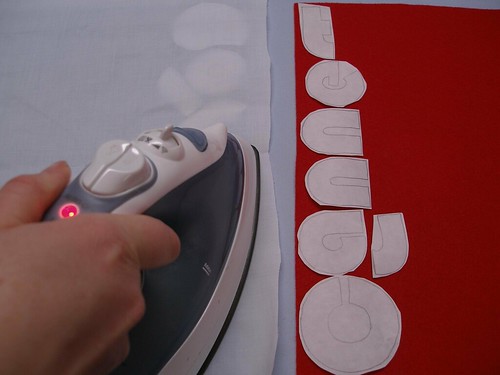
-Check to see that the letters are well stuck to the felt. Iron again if not firmly attached.
-Cut out the letters along the lines.
 Attaching the Letters
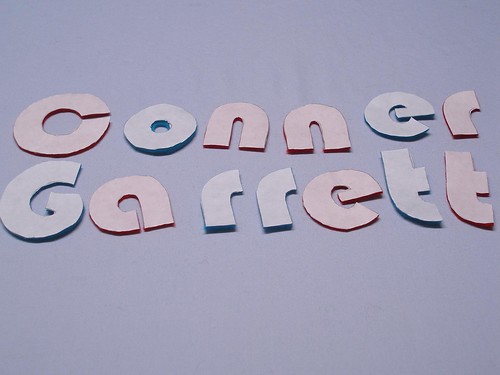
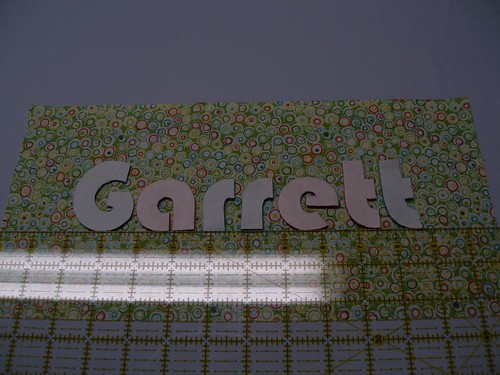
-Grab the piece of colored fabric that is 7 inches by 14 inches.
-Arrange the letters evenly on the right side of the fabric. (I use a see-thru quilters ruler to help line everything up.)
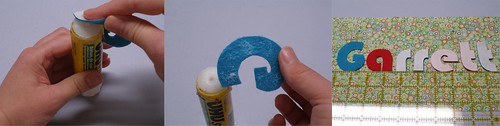
-One at a time, pick up a letter, apply regular old glue stick glue to the back of the letter and put back in place, pressing firmly. I pulled the freezer paper off as I did this to help me remember which ones I'd glued.
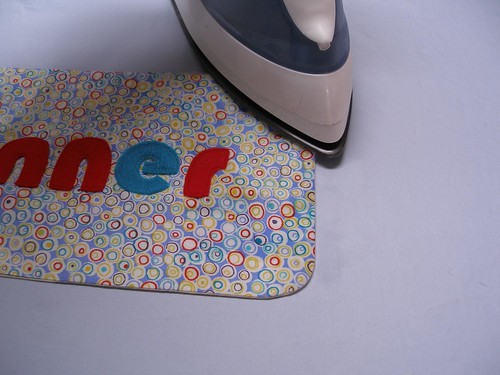
-When they're all where you want them to be, use a press cloth and go over it with the iron to set the glue.
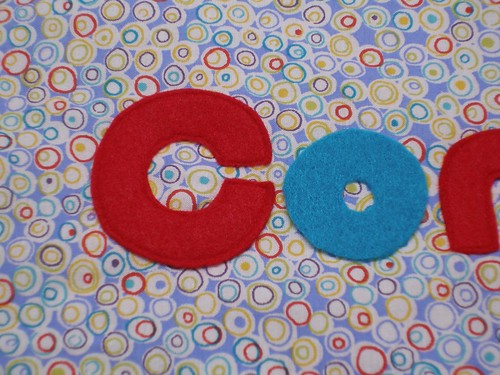
-Using the exact same color thread as the felt (trust me, it's worth it to spring for this) sew around the edges of all the letters. (In this picture, I'd only sewed the red letters, not the blue.)
If you're not great at sewing... lucky you, you have plenty of time to get better as you do these. If you screw up a bit, don't worry, that's what you bought the matching thread for. No one will notice. (Unless your aunt is Martha Stewart and you're making personalized
dog packs for her Chows. But, well, if that's the case, I can't possibly be of help to you.)
The Rest-To attach the name to the bag, you can either fold and iron the cut edges to the back and then sew OR do the following... (I'm sure it's more work in the end, but it helped me line everything up nicely)
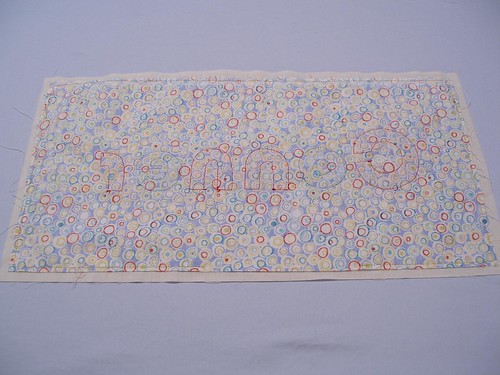
-Grab the white piece of fabric (7.5 by 14.5 inches). Sew it to the decorative fabric right sides together, going around the edges of the smaller, colored one, leaving at least a couple inches unsewn to turn right side out.
-I sewed rounded corners (or at least I came back and sewed rounded corners when I remembered) because they are much easier to work with than the 90 degree corners.
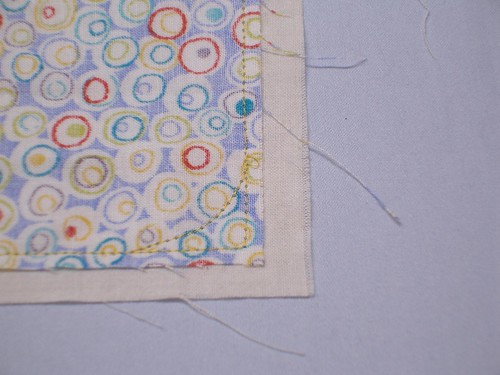
-Trim corners.
-Turn right side out, folding as necessary so that all the edges are straight.
-Iron flat.
-Center the name on the backside of the fabric where the pocket was sewn.

-Sew to bag (much easier if you do this before the bag is made).
The Bag Itself-Sew it all up like in
this fabric bag tutorial. Though you'll only need to fold the top edges down once if the short edges of your fabric were on the selvedge.
Some Thoughts-For tracing the letters onto the freezer paper, I used my light tracer (best 30 bucks I ever spent). It isn't necessary, though. The lines show through the freezer paper well enough to do it without.
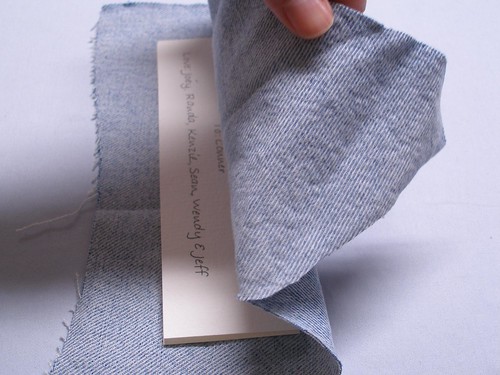
-Be sure to stick around to see the sewn bookmark that rounds off this gift set.
-Also please let me know if anything is missing or confusing here. I've been staring at this for quite awhile now, so I'm in no state to make a qualified assessment.
--------------------------------
Enjoy this tutorial? Get more like it by subscribing to my
RSS feed--------------------------------
Related Posts
Personalized Bookplate Stamp TutorialHandmade, Handsewn Bookmarks/Gift TagsCheap & Easy Fabric Grocery BagsHow to Sew Your Own Handles


 )
) .
.


 . If you're interested, this book has some really cute patterns.