Sunday, May 30, 2010
Joey and the Flowers
I recognize June by the flowers, now. I used to know it by review tests, and restlessness.
-Lisa Asher, unschooled teen
Labels:
Homeschool,
Sunday Happiness
Friday, May 28, 2010
Laundry Line
Our new dryer is both solar and wind powered. In fact, if you take into account the amount of chocolate that I eat and the fact that I'm the one who hangs out most of the laundry, you could say it's also chocolate powered.
Um, anyway.
About a month ago, our dryer stopped working.
And instead of rushing right out to get it fixed, we decided to make use of the laundry line that, until now, has served no purpose other than as a framework for sheet tents.
Here are some of the pros.
-It takes me anywhere from 5 to 10 minutes to hang out a load (depending on whether it's mostly towels or socks) and about a minute to take it down.
-Most days, a load of laundry actually takes less time to dry out on the line than it would have in the dryer.
-According to the California Energy Commission, the dryer is the "second-biggest electricity-using appliance after the refrigerator."
-According to Lance, hanging out laundry burns over 130 calories per hour. And that doesn't even count the calories burned lugging a basket of wet laundry up the stairs from the basement. Which you know means I'm able to refuel myself with more chocolate. I believe that this is the best perk of all.
-Even though a lot of the time it's just jeans and t-shirt out there flapping in the breeze, sometimes my laundry is pretty enough to make me smile.
For those of you who've never hung laundry on a line, here is the one tip that I always hear in my mother's voice every time I hang out a load.
Hang towels on the outside and undies in the middle.
Unless of coarse you've got beautiful underwear, in which case flaunt those puppies.
Labels:
Our Green Life
Wednesday, May 26, 2010
Weird Kid Wednesday- Math and Music Education
I was in the kitchen one day when I noticed Joey singing.
"Meeeeee aaaaand, Mrs, Mrs. Jooooooones. We got a thiiiiiiiiiing goin' oooooon."
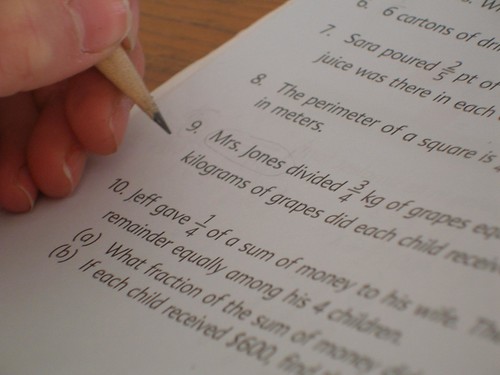
Turns out that her serenade was inspired by that day's math.
Which eventually led to a huge chunk of the day lost to YouTube.
I do so love the internet.
"Meeeeee aaaaand, Mrs, Mrs. Jooooooones. We got a thiiiiiiiiiing goin' oooooon."
Turns out that her serenade was inspired by that day's math.
Which eventually led to a huge chunk of the day lost to YouTube.
I do so love the internet.
Labels:
Homeschool,
Weird Kid Wednesday
Tuesday, May 25, 2010
Six Impossible Things
When Alice in Wonderland came out, we went to see it the very first day. In costumes. Of course.
One of my favorite parts of the movie came directly from a line in the book,"Why sometimes I've believed as many as six impossible things before breakfast."
It rang true because I've often found myself giving up before even starting, with the excuse that it could never work, so I shouldn't waste my time trying.
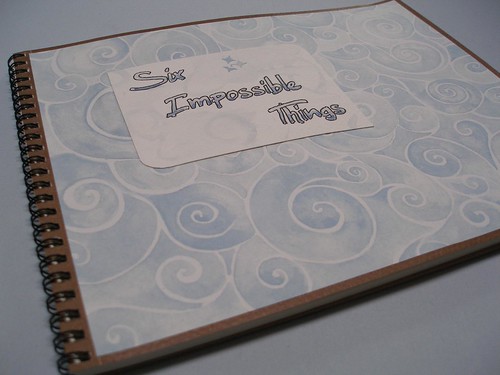
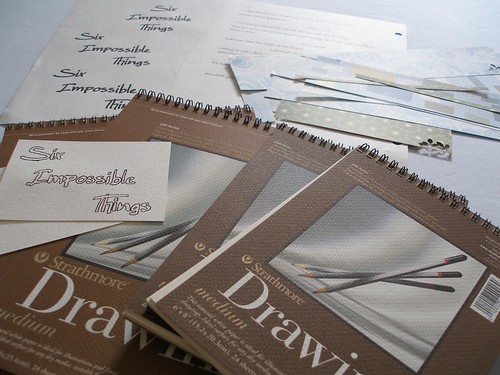
So I came home from the movie with the idea for these journals, as a daily challenge to believe in six impossible things and stretch our minds a bit.
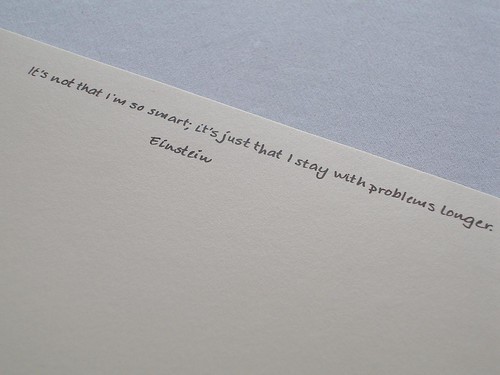
I added several of my favorite quotes throughout.
I do know that over time, and honestly with the help of this blog, I've learned to reevaluate all the can'ts in my life and persevere with the seemingly impossible (and oftentimes ridiculous).
Things like...
Can I make a chocolate house with stained glass windows lit from the inside?
(Heck ya!)
Is it remotely possible to carve my own face (curly hair, glasses and all) on a pumpkin?
(You betcha!)
Will I be able to cross the finish line after completing the Warrior Dash, a competition that involves crawling through mud and over walls and jumping through fire at the end?
(I guess we'll have to just wait and see!) BTW, if you listen to this loud enough, you can hear my crazy chuckling after I haul my butt up and over that thing.
So won't you join me in challenging those things that we label as impossible?
Because who's to say what is possible?
And wouldn't our lives be bigger (and infinitely more interesting) if we could learn to believe in and strive towards the impossible?
Imagine what we could achieve.
UPDATE- I made it! Click here to see pics from the day.
Labels:
Organization and Motivation
Sunday, May 23, 2010
Sour Cherries
People deal too much with the negative, with what is wrong. Why not try and see positive things, to just touch those things and make them bloom?
-Thich Nhat Hanh
Labels:
Sunday Happiness
Thursday, May 20, 2010
A Couple of Things
First... I have discovered something about the chalk markers that makes them slightly less perfect than I'd originally thought. Some of the darker colors seem to stain the homemade chalkboard that I painted, but only if you leave them on for more than a day or two. I haven't had a problem with the lighter markers, though. And I haven't had any problems while using them with the spray-on chalkboard paint.
This minor setback, however, has not dampened my enthusiasm for them, since I'm still planning to buy the neon set next time that I'm at Michael's. (I think they'd look cool on the black cans.)
Second... the giveaway. I used Random.org to chose a truly random number and kellygreen is the winner (lucky number 13)!
Hopefully, Kelly will get in touch with me soon as blogger doesn't always give me email addresses. Just shoot me an email at mamagay74 [at] comcast [dot] net with your address and we'll get those in the mail.
Labels:
Giveaways
Sunday, May 16, 2010
Kam
Sometimes your joy is the source of your smile, but sometimes your smile can be the source of your joy.
-Thich Nhat Hanh
Labels:
Sunday Happiness
Sunday, May 9, 2010
Friday, May 7, 2010
Nontoxic Chalk Markers for Your Whiteboard
So maybe some of you aren't really all that into chalkboards. You prefer whiteboards, maybe? Well, the chalk markers that I'm giving away work pretty well on those as well. They have a couple of perks that I think make them much better than regular dry erase markers.
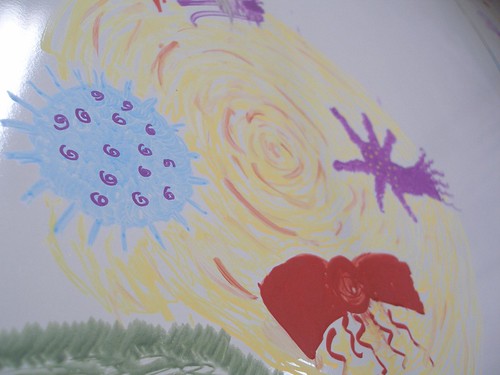
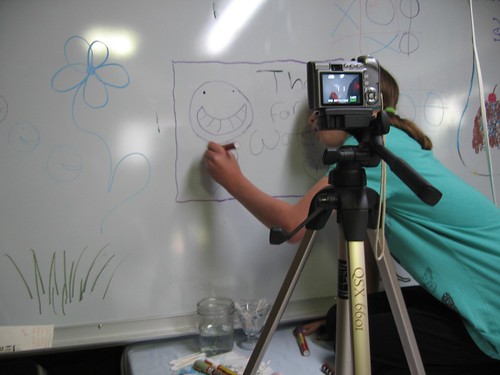
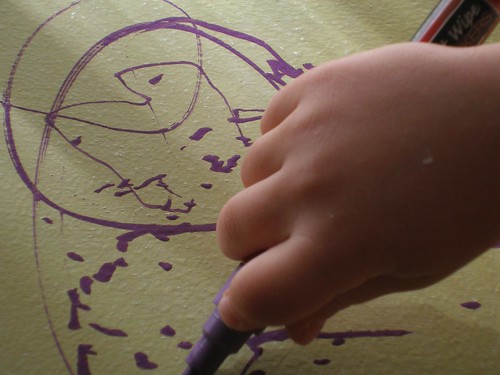
(Don't ask me what this is a drawing of. I do not know.)
First of all did I mention that they're xylene free?
Because they are.
These puppies are almost completely odorless. Which is so much better than the brain-cell killing markers we previously used on our whiteboard.
For some time now, I've discouraged the use of our whiteboard because it's right near my sewing table. And the entire room stinks for hours after the kids have drawn on it.
Blech.
So I only let them use it during the times of the year when I could actually open a window for ventilation. Because it says so right there on the dry erase marker... Use in well ventilated area. Which really makes me wonder, how many people working in offices have access to open windows? In my experience, very few.
In case you're interested, here are the health hazards of xylene (a common ingredient in regular whiteboard markers), according to OSHA...
Dizziness, excitement, drowsiness, incoordination, staggering gait, impaired reaction time, impaired short-term memory; headache; eye, nose, throat irritation; corneal vacuolization; anorexia; nausea, vomiting, abdominal pain; dryness and scaling of the skin, dermatitis; reversible liver and kidney damage after exposure to sudden high concentrations.
And while some of that does indeed sound like a good time, I think I'll just skip it and have a few gin and tonics instead.
I also like the fact that once the chalk markers have dried, they won't easily rub off on you like the dry erase markers do. But if you use a damp cloth, it comes right off.
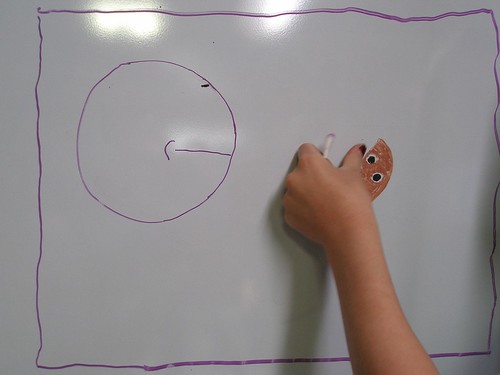
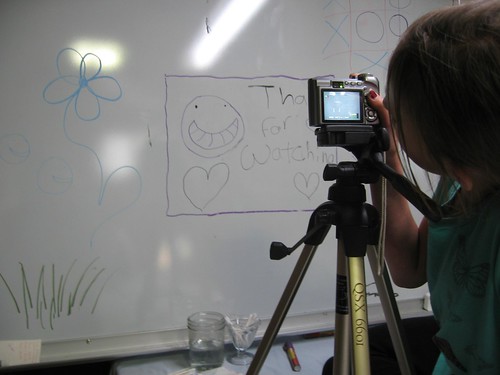
All of which makes it the perfect time to let Joey make a little stop animation video on the white board, something she's wanted to do for some time now, but I've been hesitant about because it's such a long project. We're talking hours of drawing, erasing, drawing and erasing again and breathing fumes the entire time.
Luckily this was created in a completely stink free environment...
and caused no brain damage-amage-amage-amage-amage-amage! what so ever. (Warning- that link takes you to an audio file. You know, in case you're at work and don't want everyone to know that you're, um, not working.)
Update- And here's the second of Joey's whiteboard animations.
She spent most of Friday making this one. Other than taking some of the pictures on the first one, I didn't help her AT ALL with either of these. She wouldn't even let me see any of this last one until it was totally done, music and all.
Labels:
Crafts and Art,
Giveaways,
Homeschool,
Our Green Life
Wednesday, May 5, 2010
Chalkboard Paint and yes, Mason Jars
Great ideas, everyone! And just so you know, this giveaway will be a random drawing as I could never presume to stand in judgment of your ideas, wonderful as they all are. (I do especially like adaptive reUse's idea for the chalkboard coffee table and Finny's idea for a scoreboard for outside games. I also admire all of you who can plan meals and stick to them. My menu board would be a big crossed out mess as I tend to change my mind at the last minute.)
And I guess I should've known that a couple of you would come up with an idea or two that I actually planned to write about this week. Finny's especially, shouldn't have been a surprise at all (over time, I've realized that she and I have a similar kind of crazy, because, hello, just look at this fantasticness). I don't know Anna well, but she's right there with us, at least when it comes to storage; I'm not sure how she feels about tomatillo t-shirts with pithy gardening geek sayings. (And also, lame, "tomatillo" is not deemed a word according to my automatic spell checker thingy.)
Did any of that make a bit of sense?
So should I just get on with today's post? It's about Mason jars, a subject that I've admitted to having a problem with in the past.
These days I use very few plastic bags thanks to my fabric grocery bags and produce bags. Some time ago I realized that I could also add Mason jars to the arsenal in my war on plastic, especially when it came to buying dry bulk items.
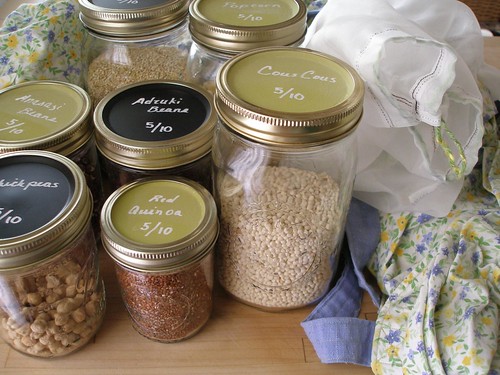
With the help of some fine sandpaper and chalkboard paint (both the spray can and a homemade batch), I covered the flat part of the 2-part lids. Then I could bring the empty jars right to the store and write directly on the lids.
This was a less than ideal situation until I found the (queue celestial music) Chalk Markers (that should be said in a deep God-like voice). Because regular chalk? Not only did it look crappy, but I couldn't fit much more than the item number because the line it made was so thick.
Oh, but chalk markers? So great.
Writing with thin lines gives me plenty of room to fit in the name, item number and/or date which is super handy because, frankly, I don't know how old most of these things are. Some have definitely been around awhile.
And is it lame that the reason I hadn't posted this idea before is because the plain chalk looked ugly? As much as I like functional, I adore pretty.
I also tried putting the chalkboard paint on the side of the jars, but it presented a few problems.
1) I had to get special, smooth sided jars because regular Mason jars have all kinds of raised embossing on the side.
2) When I brought the jars to the store and back, the friction created as they rubbed against each other took off some of the paint, which made me very very sad.
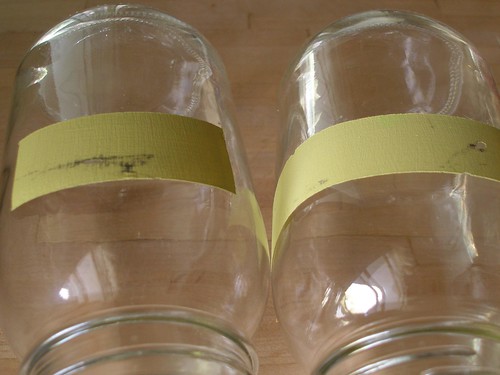
3) I'm not completely sure I actually like the look. Though, to be fair I've only tried it with the green, homemade batch that matches the kitchen and not the black spray stuff, which looks a bit more, um sleek, I guess. In these pictures, they actually look pretty good, but all I notice when I look at them in real life is that the painted areas aren't completely lined up. And based on my experience with taping and painting these, getting them perfectly lined up is pretty hard to do.
And I have just enough OCD in me to be bothered by that. Also, these shelves aren't tucked away in the pantry, but front and center in my kitchen. I just haven't been able to make up my mind to the point where I can commit to painting all my jars.
Tips
-If you're interested in painting on the jars, what I did was tape off the area and do 3 coats of the paint using a sponge brush.
-One thing I have noticed while using the markers on the homemade paint is that it sometimes doesn't come completely clean. It seems to work better if you rub a regular piece of chalk all over it and then wipe it off with a dry rag first, though.
-I didn't have this problem at all with the spray on chalkboard paint. Those puppies wipe perfectly clean.
-The lids are washable, but you don't want to let them soak in water for too long or the paint will start to peel off.
More Tips Thanks to an Email I Just Got from Finny
-These markers are NOT messy at all once they're dry, which takes a minute or three. You can scrape it off with your fingernail, but otherwise they pretty much stay put and don't smear at all.
-To remove the water-soluble kind, you just wipe with a wet rag. And according to the website, to remove the waterproof kind, you can use an ammonia based cleaner, like Windex.
For those of you who haven't yet entered the drawing for a set of Chalk Markers, be sure to check it out. It runs through Sunday night.
Tuesday, May 4, 2010
Chalk Markers Giveaway and Upcycled Planters
The first time I saw Martha's instructions for making a custom colored chalkboard on the wall, I really geeked out. Everywhere I looked, I began to see the potential for chalkboards. And so I started painting them all over the place, using her homemade recipe.
But oftentimes I was disappointed with how the actual chalk looked. It was either not bright enough, or I couldn't write small enough for the space.
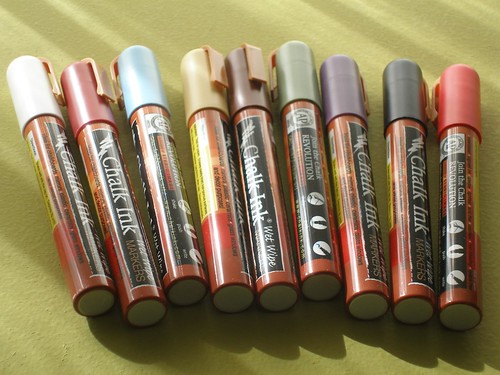
Until, that is, the magical and life-changing day that I discovered Chalk Ink Markers, thanks to Creative Kismet and Maize in Montana.
These markers come in 2 different types, water-washable and water-proof. I bought some of the water-washable kind because that's what they carried at the local art store. After doing a small test on the corner of Randa's chalkboard, the girls went to town with them.
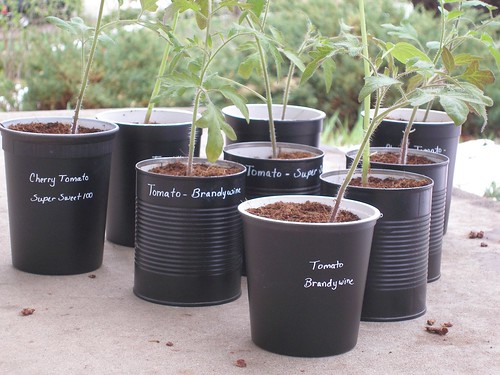
The first thing *I* did was make containers to pot up some of my seedlings by sprucing up some recycled containers using black chalkboard spray paint.
(And since these are water soluble, it was a good thing that I normally water all my plants from the bottom. These totally run if they get wet. Though I'm sure the water-resistant kind would work brilliantly. I just haven't bought me any. Yet.)
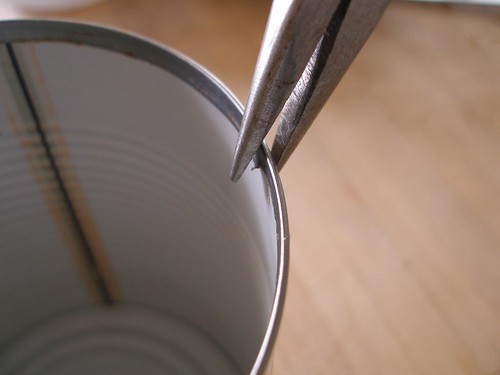
After making sure to remove the hand-slicing bit of metal on the top (and pinching it down flat enough that I could run my fingers over it without getting cut)...
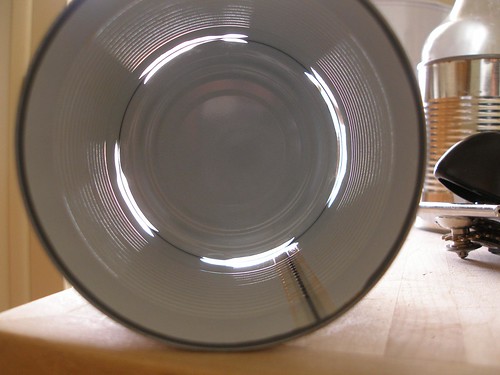
I cleaned them well and put some holes in the bottom for drainage. For the metal cans, I used the can opener to cut several, inch-long openings.
For the plastic I either drilled holes or simply stabbed it in several places with a screwdriver, which didn't make the holes I was hoping for, but cracks that drained fine just the same.
Then I sanded the metal with fine grit sandpaper and wiped clean. For the plastic, I went over the entire surface with turpentine on a cotton ball. I was able to spray the metal containers directly with the chalkboard paint, but needed to prime the plastic first with a special primer. Then I sprayed on a few layers of the chalkboard paint, letting them dry in between. As always, when using spray paint, several thin coats are better than one thick one, which will drip and make you sad.
After I planted them, I used the white marker to write the name and date that I started the seeds.
So is anyone else as incredibly excited to own a set of these markers as I was? Because I've contacted the company and they've offered to sponsor a contest here with a 5 pack of markers. Wee!
To qualify for the drawing, just leave a comment letting me know what amazing and creative uses you plan to put these to, should you be the lucky winner.
The contest will run through Sunday at midnight during which time I'll post about some of the other chalkboard projects I've done.
If you have any ideas of your own for chalkboard ideas, please feel free to link to them in the comments.
Good Luck!
Labels:
Crafts and Art,
How To
Sunday, May 2, 2010
Jenny and Her Camera
Why are women immobile? Because so many feel like they're waiting for someone to say, "You're good, you're pretty, I give you permission."
-Eve Ensler
(I just want to once again say a huge Thank You to my sister, Jenny, for the use of so many of her pictures. Click on over to her site to see many more goodies.)
Labels:
Sunday Happiness
Subscribe to:
Posts (Atom)