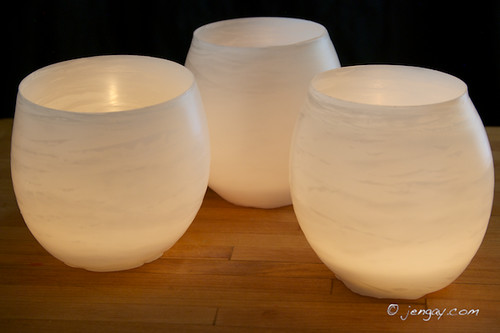
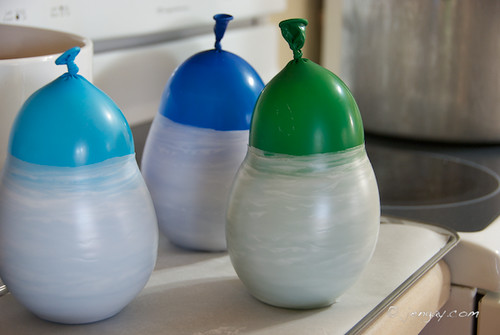
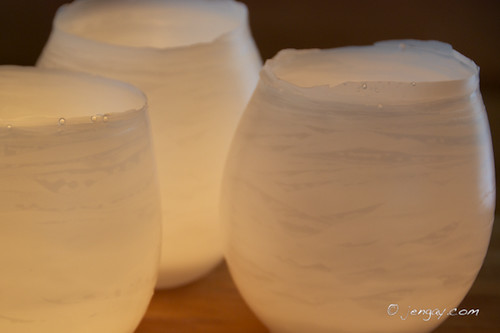
These are some of my favorite gifts to make. They're fairly simple, inexpensive (less than a buck each) and lovely. Each one has a unique, organic form that I can stare at for hours.
They would also make gorgeous table decorations for a wedding reception.
The Simple and Abbreviated Instructions are as follows...
-Fill balloons with water (not water balloons, regular ones).
-Dip them in high melt wax until desired thickness
-Pop balloon and drain water
-Smooth top on hot cookie sheet
As usual, though, I've included a much more detailed version. And pictures. Lots of pictures because
Jenny helpfully offered to photograph this project.
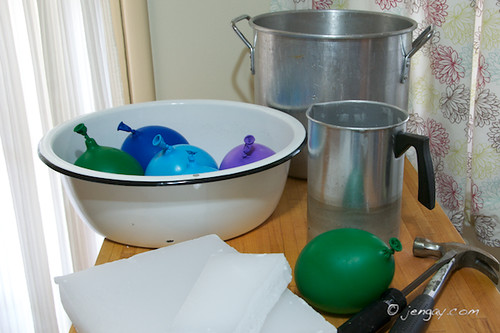
These really only require just a few Supplies to make.
-a large screwdriver and a hammer
-recently purchased, high quality 12" balloons (Don't buy actual water balloons. You don't want the kind that break easily. Fill a couple test ones way overfull to check their strength.)
-a double boiler, which consists of the following...
*an inner container for the melted wax (at least 5" wide and 8" tall)
*an old pot for the water (the outer container)
*something to lift the inside container up off of the bottom of the pot (a metal cookie cutter will work)
-an old cookie sheet and parchment paper (not shown)
I also always pick up a pack of
soy, tealight candles, the kind in plastic containers, not metal. I linked to some on Amazon so you can see them, but they've got 12 packs of them at Target for only 4 or 5 bucks. This kind won't ruin the luminarias because the soy melts at a lower temperature than regular wax and also because the kind with metal containers will conduct too much heat and melt right through the bottom.
Obviously, a battery operated LED tea light would work too, but I prefer real candles.
OK, so On To The Making, shall we?
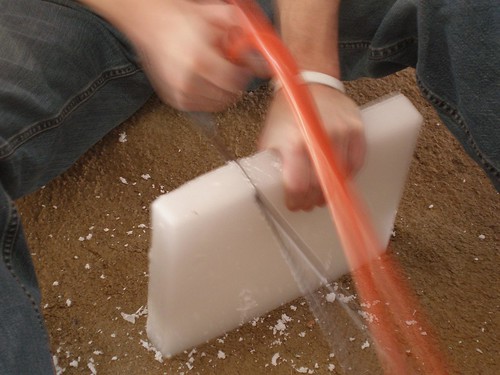
For our first attempt, we used a saw to get small enough pieces of wax. And by "we" I mean Jeff. Because I didn't have enough patience for that nonsense. But since Jeff is immune to nonsense (or at least has learned to pretend to be during our 13 years together), he volunteered. This took a really. long. time.
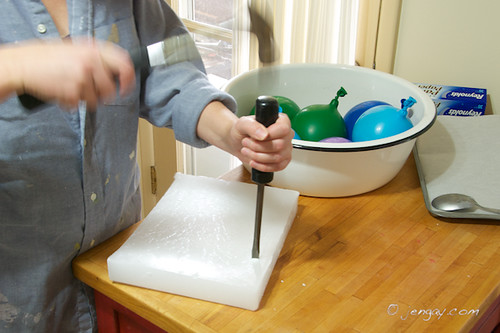
Luckily, in later years, I found a much better solution. Using a screwdriver instead of a handsaw will save you about 45 minutes and a huge mess.
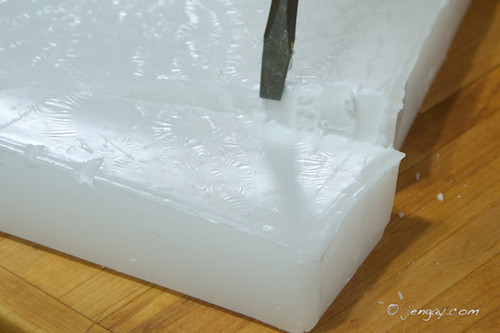
I took a couple of wacks at it, working the screwdriver partially in and removing it, lining up the holes in a straight line. After a few, a nice sized chunk easily broke off.
Next time I'll do it on a folded up towel on a slab of concrete or something, though. You run the risk of gouging whatever it's on. Which is something I didn't notice until the next day.
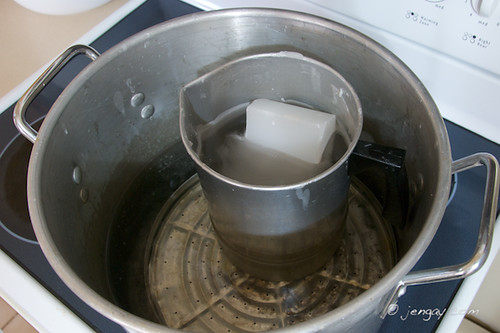
Then I melted the wax in the double boiler. The picture below shows my set up, with wax in the inner container and water in the outer container. If you want, you can use a much smaller outer container for the water, like shown
here. In fact, I'd check that link for more information about safely melting wax. If you are attempting this, DO NOT put the wax container directly on the stove; it can create a very interesting fireball if overheated. Also, it's a good idea to have a fire extinguisher on hand, just in case.
A couple tips for this bit.
-The water only needs to be at a bare simmer. Boiling isn't necessary or helpful.
-The water level only needs to be a couple of inches up the side of the inner container, not at the same level as the wax inside.
-Make sure to add more water as necessary to account for evaporation. DO NOT let this boil dry.
-Only add enough wax so that the level is about 3 or 4 inches from the top. The water balloon will displace lots of wax, so you don't want it filled to the top.
-Try to keep the wax at 180 degrees (F) while working.
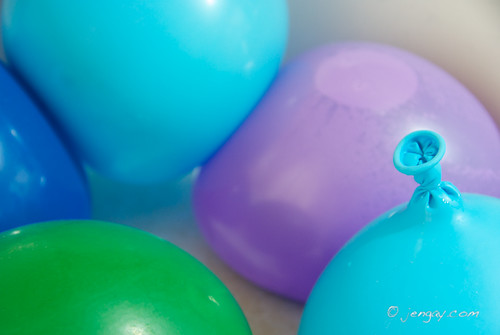
While the wax is melting, I fill up the balloons with water, letting as much of the air out as possible before tying them closed. Make sure that these are small enough to fit down inside the inner pot without touching the sides.
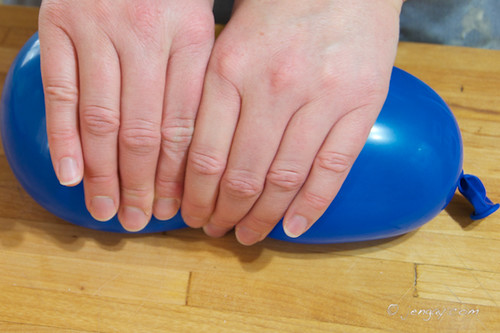
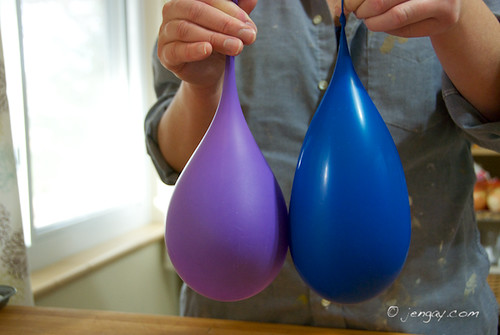
Since some of these seemed somewhat misshapen and a bit too squatty, I adjusted their shape, rolling them back and forth like so.
It can make a difference.
If you care about that sort of thing.
Note- I definitely should have unrolled my sleeves down to my wrists, for a bit of protection. Just sayin.
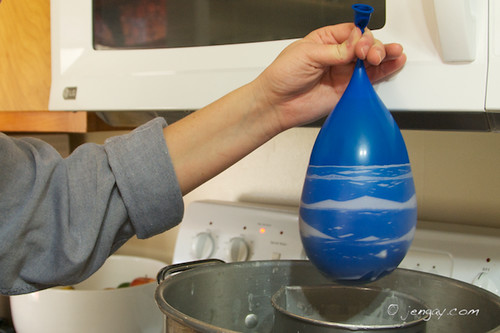
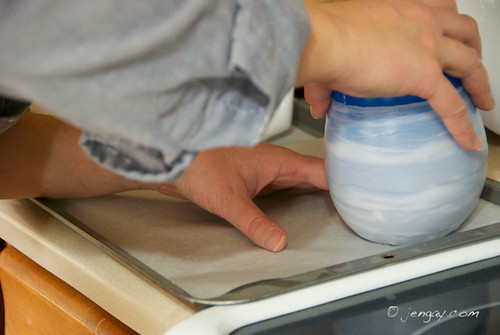
Once the wax is liquefied, I slowly dip one balloon 3 times and then place it on a parchment paper covered cookie sheet, pushing down gently to make the bottom flat. On the last dip of the three, I try to pause for a few seconds, shaking it a bit and letting as many of the drips as possible fall off before setting it down.
Note- if you forgot to remove all the air from the balloon, just make sure that you don't dip it any further than the water/air line. In fact, don't get near it. The water inside regulates the temperature and, you know, keeps the balloon from exploding. Also, be sure to keep the balloon from touching the side of the container.
Then I dip two more balloons the same way. I only have three going at a time because it's easier to keep track of the number of dips.
Then I repeat. Total, I do anywhere from 5 to 8 sets of 3 dips (15 to 24 layers total), depending on how thick I want them. This time they were on the thinner side, only 15 layers.
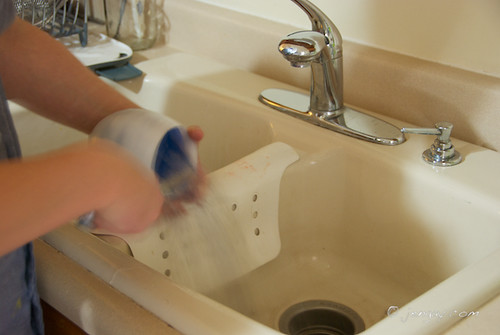
After they are completely cooled, I empty them over the sink.
The tops will be raggedy at this point. I've considered leaving them this way, but I'm worried they'll get mangled.
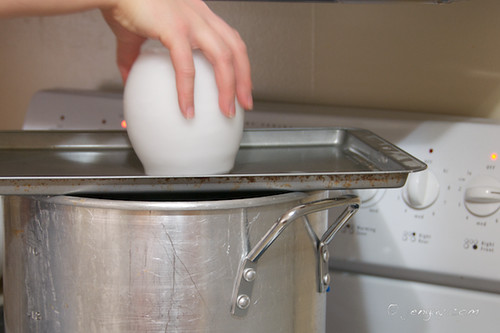
Now I remove the parchment paper and place the cookie sheet on top of my double boiler. After about 5 minutes, it gets hot enough to melt the rim smooth.
If you're using a smaller double boiler, you can put the empty cookie sheet in a low oven and heat it that way. Just rub the top of the luminaria around on it until it's smooth.
Add a tealight and you're done.
One final and important note- The idea originally came from
Peak Candle Supply, where I bought my wax. I've made these on many occasions and have never had any problems. But if a balloon were to break during the dipping process, it would be very bad. So this project is very much one to do at your own risk.


