


(If that doesn't make you want to try worm composting, then you should consider the possibility that you just aren't a gardener.)
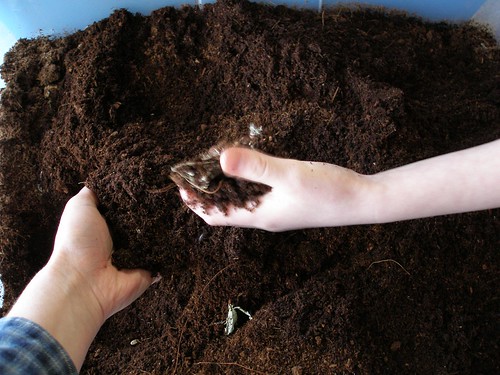
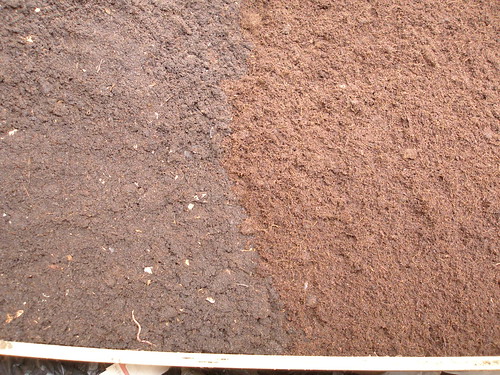
- After 4 to 6 months of feeding your worms, you will notice that the bedding has become much darker and takes up much less space. This is because most of the bedding, food, leaves, paper, etc has been through the gut of at least one worm.The worms are now living in their own poo (castings) and it is now a good time to harvest your compost. Everyone will be happier.
- The first thing you need to do is to stop feeding your worms for a week or two. This gives them a chance to eat up all the last little bits of food that you’ve added and makes them more willing to move to where you want them to move.
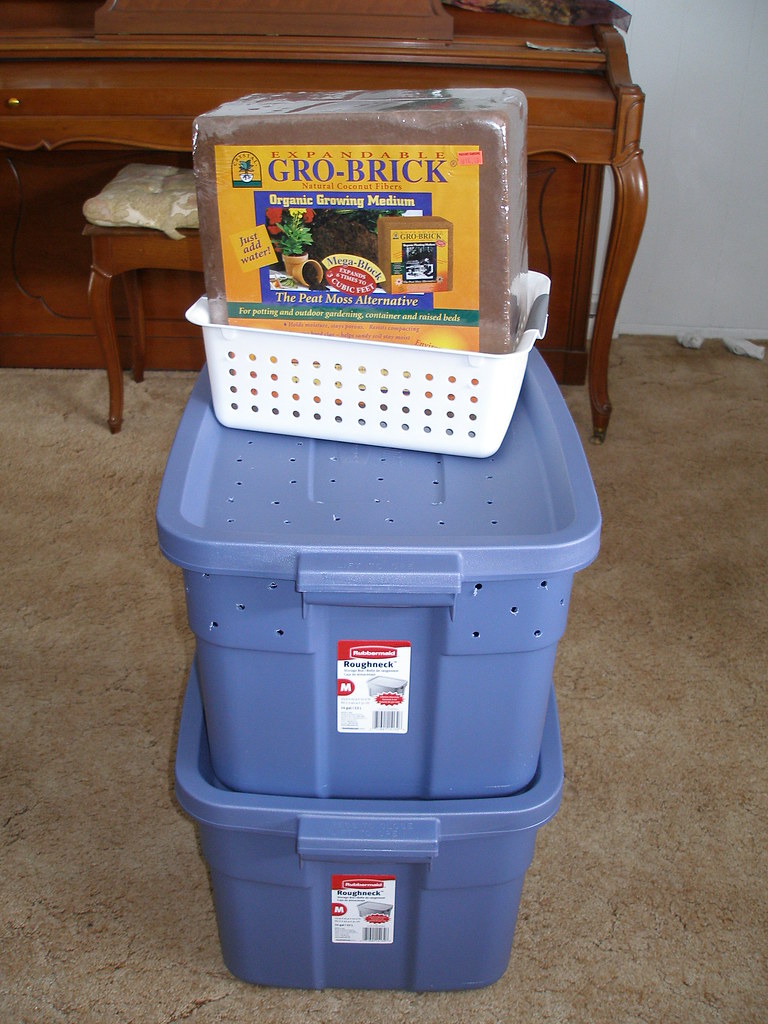
- There are many ways to actually transfer the worms from old bedding to new. The first is to fill the white plastic basket (see picture of kit here) with new bedding, add food scraps and then bury it down in the bin. Make sure the holes in the sides are buried below the line of dirt. And remember not to add food to the old bedding. The worms will now be attracted to the new bedding and food and crawl through all the holes and into the basket. This way works especially well if you plan to share worms with friends.
- Another way (the easiest in my opinion) is to shove all the old bedding over to one side of the bin (leaving any big chunks of food) and add new bedding and food to the other side.
- For either of these methods, don’t add any more food to the old bedding.
- After several weeks, most of the worms will have migrated into the new bedding and the finished compost will be relatively free of worms. You can remove the finished compost (now mostly worm castings) and use it on your garden.
- The last, and most tedious way, is to manually pull out all the worms. Lay out a big layer of plastic and make little pyramid shaped cones all over it. The worms will move downward, away from the light and you can pull off the top part of the pyramid and add that to a bucket for finished compost. Rebuild the pyramids and keep going until you’ve got a bunch of worms concentrated in a very small amount of compost. Scoop that back into the worm bin to begin your new batch. I have never once done it this way, but it’s the way that Joey would prefer to do it if she knew about it. She tends to sift through the compost I do remove to make sure that no little wormies are getting thrown out in the garden.
- If you live in Colorado, I'd be happy to share, but I have no idea how I would ship them anywhere else.
Related Posts-
Worm Composting (1)- Setting Up the Bed
Worm Composting (2)- Some Other Thoughts
Worm Composting (4)- Troubleshooting
Using Eggshells
Why You Need Worm Poo

3 comments:
I've really always wanted to setup a worm farm for castings.
MMM.. those look wonderful. Imagine the tomatoes they might grow!
Wow! Four to six months is a long time. I was hoping it'll be a lot faster than normal composting, which I think takes that long too. How big was your bin and how many worms did you put in?
Post a Comment