"Anyone that doesn't agree with leggings as pants can physically fight me.
And I'm going to win because I have a full range of motion due to the fact that I am wearing leggings as pants."

Sunday, February 28, 2010

Mexico

DSC_6179.jpg

There is more to life than increasing its speed.

-Gandhi

Friday, February 26, 2010

Spring Snows and Sunshine

For those of you who actually get snow, have you noticed the specific smell of spring snows? For me, it almost smells like rain. And I love the smell of rain.

P2260007

As we watched yesterday's little storm come over the foothills, I could smell the spring in it, before the snow even began to fall.

This morning, by the time I'd pulled my jeans on underneath my nightgown and tromped outside in my Sorels, the snow was already melting and falling off the trees in great clumps.

P2260010

I stood still for quite some time to get these pics. Aiming my camera and waiting with my finger on the shutter. Listening to the bird song breaking through the usual silence that snow brings.

P2260012

Happily, there were some fun surprises when I looked at these full size. Like in this one, with the sun peaking over our roof. I don't know that I've ever seen rays of color like this.

P2260015

But, by far, my favorite was this one, where I accidentally captured a snowflake bokeh.

P2260024 copy

We get more than our fair share of snow in Colorado, but the gorgeous sunlight and incredibly blue skies might just make up for it.

Wednesday, February 24, 2010

Weird Kid Wednesday- Joey Says

"I wonder how many people think your blog is awful?"

P2100113

I was just looking back through some things I'd written and found this profound question posed by my incredibly supportive daughter some time ago.

I guess this is not so much a Weird Kid Wednesday. Do I need to start a Smart Ass Saturday?

(Though, really, in her defense I vaguely remember that the context of our conversation was the fact that not everyone has the same taste in everything. And she followed it up with this statement.)

Tuesday, February 23, 2010

Spaghetti Pizza

When the kids were little, I used to make these at least once a month. Back then, we ate a lot of spaghetti and this was a fun way to change things around.

Spaghetti Pizza- 1

I'd give a list of ingredients, but really, it's whatever you want to put on them. As for specialized kitchen equipment, you'll need a large muffin tin, that's about it.

The first step, which is completely optional, is to line the tin with either Sopressata or Prosciutto.

Spaghetti Pizza- 3

The Sopressata fits better if you cut it like this.

Spaghetti Pizza- 4

Then you fill each tin with spaghetti (um, or linguine which is what I used) and cover with your toppings. I did some with pesto and some with pizza sauce.

Spaghetti Pizza- 2

And then topped them with fresh mozzarella, pepperoni and cooked mushrooms.

Pop them in a 350 degree oven until the cheese is melted.

I liked these because they're a good recipe to let little ones get used to the idea of making dinner for everyone. If you give them all the ingredients, they can do all of the assembly themselves.

Sunday, February 21, 2010

Kam

102NCD80_DSC_2024.jpg

The only successful way to predict the future is to invent it.

-Alan Kay

Note- On Friday afternoon, Joey and I watched Who Killed the Electric Car? The majority of the movie was incredibly infuriating and made us just feel helpless. But this quote reminds me that there is hope. Yes, there will eventually be more electric cars on the road, even if we have to build them ourselves. I think Kam is up to the task.

Update- I just saw a commercial for the Nissan Leaf, which should have limited availability sometime this year and be mass produced by 2012. I guess Kam'll have to set his sites on something bigger and better.

Wednesday, February 17, 2010

Weird Kid Wednesday- The Somethingers

The Somethingers

Jaden: We need to think of a name for our band. It should be like The Something-Ers.

The Somethingers

Well, there you go.

(Yes, Kam is playing the drums with a paint brush and a highlighter.)

Tuesday, February 16, 2010

The Tooth Fairy

Yesterday, our youngest kid lost her final baby tooth. So I thought I'd do a brief recap of the Tooth Fairy at our house.

103NCD80_DSC_1905.jpg

Back when she was 5 or so, one of Joey's classmates told her than he'd seen the Tooth Fairy and that she was super tiny.

So after losing her next tooth, Joey found, under her pillow, a teenie tiny note about the size of a postage stamp written (with an incredibly sharp pencil) on a regular sized piece of paper. She was enthralled with it. And carried it around with her for almost a week, reading it over and over.

Letter from Tooth Fairy

Here's the close up...

Letter from Tooth Fairy- close up

And last night, almost 6 years later, when I pulled that original note out of storage to scan for this post, Joey sighed, "Ohhhh, I loved that."

Originally the Tooth Fairy brought money and received ambitious requests like this.

Top-10.jpg

And this.

Top-11.jpg

But after we'd established that the Tooth Fairy was indeed a wee little thing, it only made sense that what she'd bring in exchange for teeth would be tiny as well.

So she started bringing things like this.

103NCD80_DSC_1935.jpg

and this

103NCD80_DSC_1927.jpg

Here's what the Tooth Fairy left one night when Joey lost a tooth while she was spending the night at Aurora's house. In case you couldn't tell, that's a tooth in there for scale. ;)

103NCD80_DSC_1918.jpg

with these notes

103NCD80_DSC_1902 - Version 2.jpg

103NCD80_DSC_1942.jpg

Is it just me or does that last bit seem vaguely threatening? At least it didn't mention anything about pliers. Which reminds me of this, the best costume ever. If you don't have kids, that is. Or if you don't mind your kids sleeping in your bed for the rest of their lives because they've been so traumatized.

The entire set of pictures of tooth fairy swag can be found here.

Sunday, February 14, 2010

Sweet Woodruff

102NCD80_DSC_1952.jpg

Look and you will find it- what is unsought will go undetected.

-Sophocles

Thursday, February 11, 2010

Low Light Pictures with a Point and Shoot Camera

So I've thought about writing this post for some time now, but wasn't sure if it would be particularly helpful. Based on some complaints I've been reading lately, I've decided that it might be of use to some people, especially bloggers who photograph their crafts and food creations.

Jenny took this picture to show how dark it was while I was taking these pictures of my whipped body butter. The sun had just set at this point, which where I live in Colorado means that it was completely behind the mountains and giving me no direct light whatsoever.

103NCD80_DSC_9090.jpg

You Need this Tutorial if...
-you take a lot of pictures of non-moving objects (not people)
-you don't think you have enough sunlight to get decent pictures.
-you have given up hope of having really great pictures, or are holding out for a SLR camera. (Personally, I have an Olympus SP-320)

What You Need
-First thing's first, if you don't already have one, get yourself a tripod. I know, I know... I really resisted using a tripod when I first started taking pictures for the blog too, but let me tell you, now I couldn't live without it. This Sunpak Tripod is pretty similar to what I have and right now it's only like 16 bucks. I'm not sure how long that price will last (looks like it's regularly $48), but this tripod is $18. I wouldn't suggest spending more than 20 bucks or so.
-You might also need your camera's manual. If you can't find the paper version, try looking for it online.

Settings To Acquaint Yourself With on Your Camera
-Self Timer (usually looks like this)

-Flash (looks like this)


What To Do
-First of all turn off all the lights in the room. Most light bulbs will give an off color to your photos. It's better to have just a small bit of natural light than a whole bunch of yucky light.

-Now turn off your flash. You may think you need it, but the light from the flash is no good. So push the flash button till you see this icon.

It took me the longest time to realize that it was the flash that was making so many of my pictures look crappy, producing harsh colors and shadows like this.
P2090109

-Now attach your camera to the tripod. In Auto mode, your camera will automatically leave the shutter open long enough to let in enough light. Unfortunately, in low light conditions, this will be much too long to hold by hand and will be super blurry.
P2090106
See how much better the color is without the flash, though.

-Now put the camera on Auto Mode, set the timer (it'll prevent any movement that occurs when you depress the shutter button) and take the picture.
P2090105

Now I'm not saying that this is the best picture I've ever taken, but considering how dark it was, it's pretty fantastic.

Obviously, the more light you have, the better picture's you'll get. This is a pretty extreme example.

I am occasionally shocked at how nice the pictures turn out when I use this method.

2007 12 07 012 copy

The sun was pretty low, with just a few rays of light making their way through the window when I took this one of my margarita jello. I think this was the first time I realized that I could get pictures with just about any bit of daylight.

And here's another one of my favorite food shots, taken about a half hour before sunset.

PB160093
(Enfrijoladas)

So, was this helpful info to anyone, or do you all do this already?

Tuesday, February 9, 2010

Whipped Body Butter

Have you ever tried those massage bars that used to be so popular? Jeff bought me one for Valentine's Day many years ago and I really wanted to like it (especially considering how expensive it was). But getting it warm enough to melt was too much effort. I really prefer oil for massages, but it does tend to make a mess just getting it from the bottle to your skin. Lotion seems to evaporate and make you cold. I've tried using pure mango and shea butter, but their texture always seemed to be a bit gritty. What I really wanted was Whipped Shea Butter, but the price was just silly expensive for the amount that you get.

So, encouraged by my rousing success making 
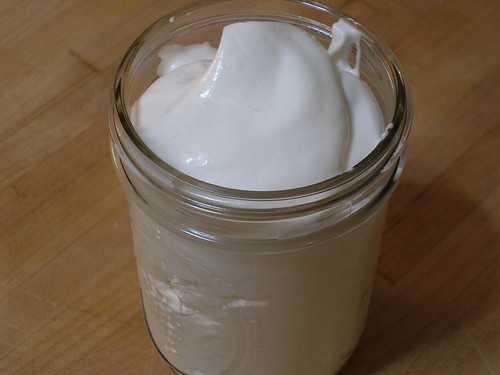
homemade deodorant, I figured I'd make my own whipped body butter for massages. This stuff feels so nice and silky, melts at body temperature and you can scoop up a decent handful without it spilling all over the place.

P2070016-1

Originally, I'd planned to share this recipe for all the men out there to make for their partners as the awesomest Valentine's Day present ever. Well, that and a full body massage, that is.

As I mixed up a batch, however, I quickly realized that very few men would actually bother making this. It's an incredibly simple recipe, but does take quite some time (like almost all day; though don't worry, most of that time is waiting around).

But, I'm sure someone will want to make it as a present, or even just for themselves, so here it is.

(I've linked to my favorite brands, but you should be able to find all of this at your local health food store and skip the shipping charges. Also, you really only need to buy one thing, Shea Butter, but mixing up this kind of stuff brings out the latent apothecary in me and I had a hard time stopping at one ingredient. And since I was making this batch for some especially needy skin, I added more skin helping goodies.)
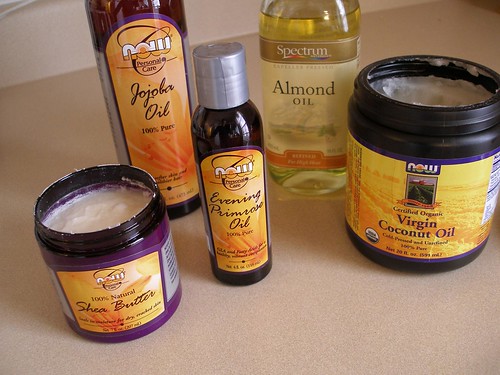
P2070128
Main Ingredient
Shea Butter 7 oz (Mango Butter works well too)

Other Ingredients (All of these are completely optional; this recipe makes a perfectly respectable batch if you use only shea butter.)
Coconut Oil (3 oz or so)
Almond Oil, Jojoba Oil OR Evening Primrose Oil (several tablespoons total)
Vitamin E (a few capsules)
Aloe Vera Gel (I was able to add a few tablespoons of this without changing the texture for the worse.)
Essential Oils of your choosing (my suggestion is to avoid synthetic fragrance oils)
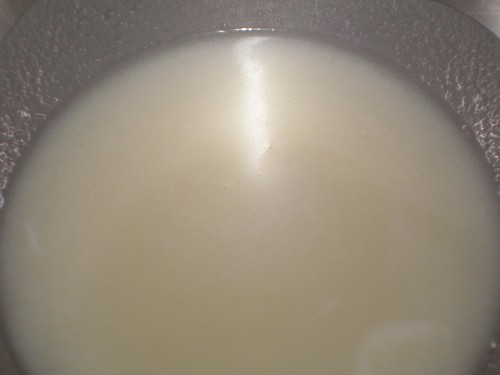
How To
-In a microwave-safe bowl, melt the shea or mango butter in the microwave. If using shea, it doesn't need to be completely clear and liquefied, but should be free from any gritty bits. If I remember correctly, the mango butter did need to be completely melted before the gritty bits were gone (If you rub the oil between your fingers, it should feel completely smooth.) This took about 30 seconds or so.
P2070130
-Pour this in a bowl of a standing mixer.
-Add the coconut oil if using. (Yes, coconut oil is a solid at room temperature.)
P2070136
-Mix until it's completely smooth.
-At this point the mixture will be close to room temperature, but still liquid. It won't cool any further, but it will thicken over the course of many hours.
-Now you will walk away from it for a couple of hours. Come back every now and then to turn the machine on for about 10 seconds, just to keep it evenly mixed.
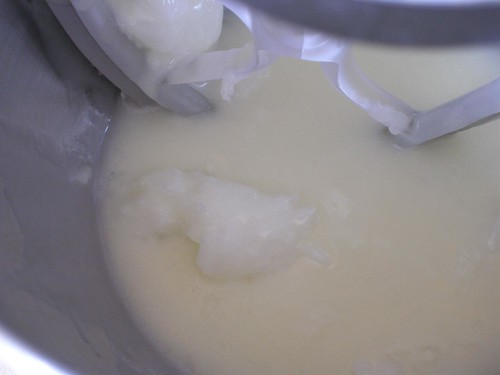
-Eventually it will thicken and will start to look like this, which is close, but not there yet.
P2070047
-After a total of 6 hours or so, it should be solid enough to whip for 3 to 5 minutes into a nice whipped cream consistency. It should form soft peaks and lighten in color, almost to white.
P2070014-1
-Now, you can add any of the oils if you choose. With the machine running, drizzle in the almond, jojoba or evening primrose oil by the tablespooon. Don't add more than an ounce of this or it'll make the mix too soft. Poke a hole in the Vitamin E capsules with a pin and squeeze into the mix. Add the aloe if you want. Finally, add the essential oils a couple drops at a time until you're happy with the results.

Some Extra Thoughts
-When this melts, it's basically oil, not lotion. So don't expect it to have the same absorbency as hand cream.
-I've only made this using a standing mixer, but I'm sure a regular mixer would work too. It'll just take longer to whip it up.
-If you want to save yourself a ton of bowl scraping when using the paddle attachment on your stand mixer, I highly recommend buying yourself a Beater Blade like you see in the pictures above. It has rubber edges that actually do a pretty fantastic job of scraping down the bowl as it spins.
-I have not tried the Raw Unrefined Shea Butter but it looks like, even with shipping, it's a pretty good deal (about 7 bucks a pound).
-Don't let the container of this stuff melt (above 80 degrees) or it will go back to the original crumbly texture when it returns to room temperature.
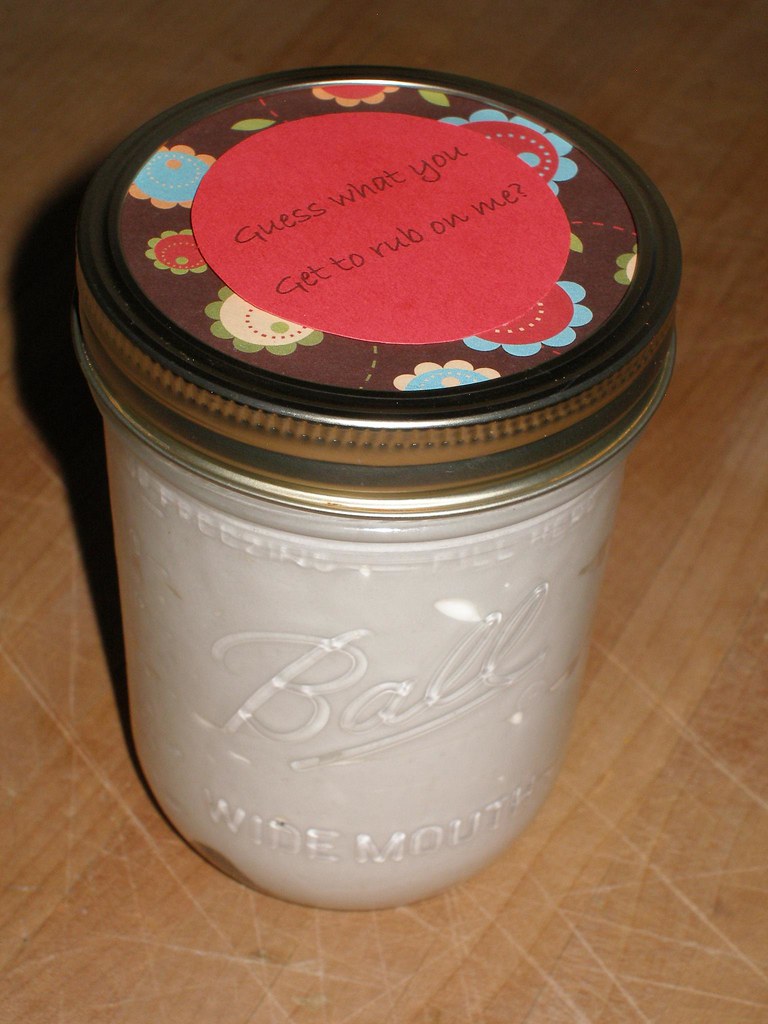
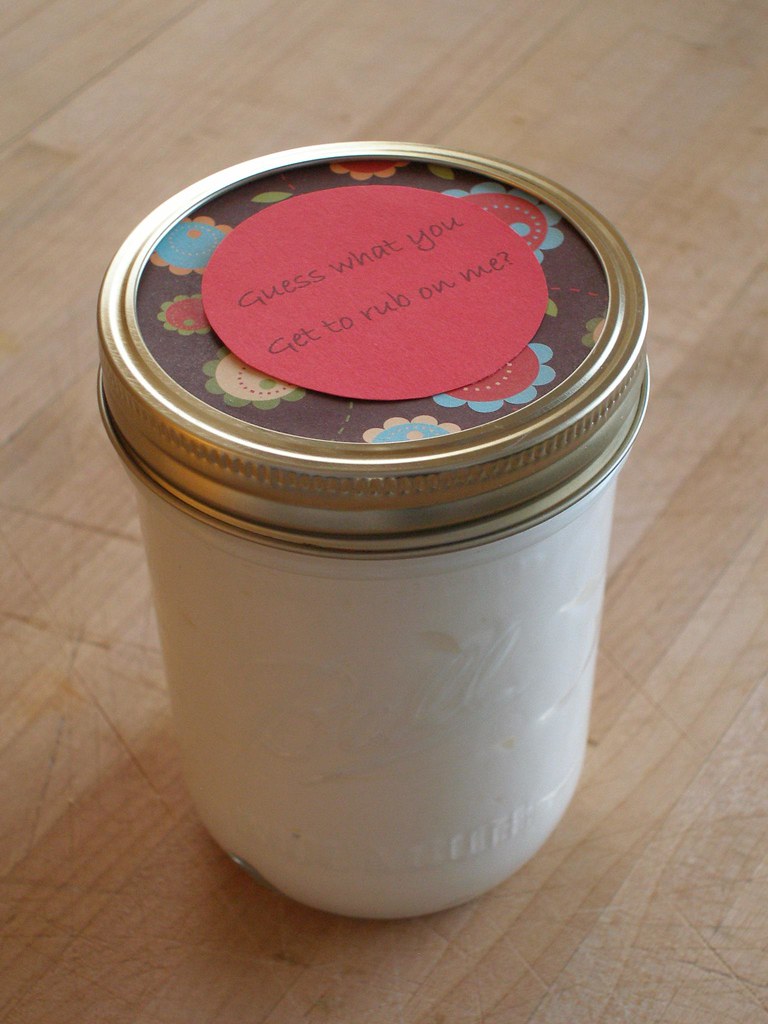
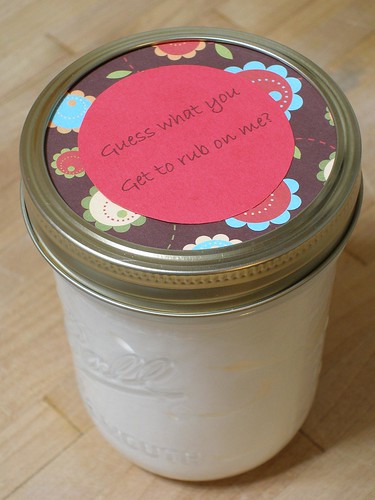
-If you've got a lot of nerve, you can give a batch as a very self-serving Valentine's present.

P2070018-1

The last time Jeff gave me a massage with this stuff I asked him how much better it was than oil (that's usually how I phrase questions to him... things like, how fantastic is this dinner? aren't I awesome? and you're the luckiest guy in the world, which isn't really a question, but a fact I like to remind him of every now and again). He said something along the lines of, "Yah, I guess it's less messy." So there you go. Another ringing endorsement from one of my family members about something I've made.

Seriously though, this stuff is fantastic.

--------------------------------

Enjoy this tutorial? Get more like it by subscribing to my RSS feed