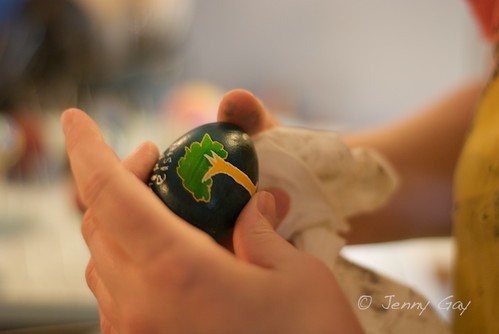
Well, technically we used the Ukrainian method, but didn't at all copy their style. Notice the peace sign on Jaden's egg below.
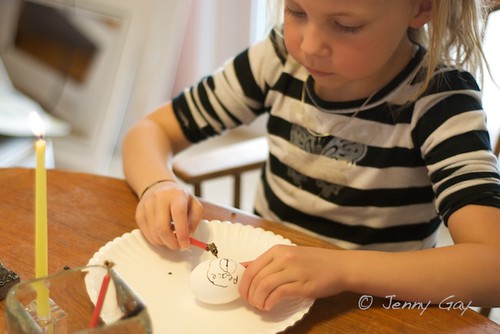
For those of you who haven't tried this, it's a similar concept to using those measly wax crayons in the kits. But about a million times better. And, you know, kinda dangerous.
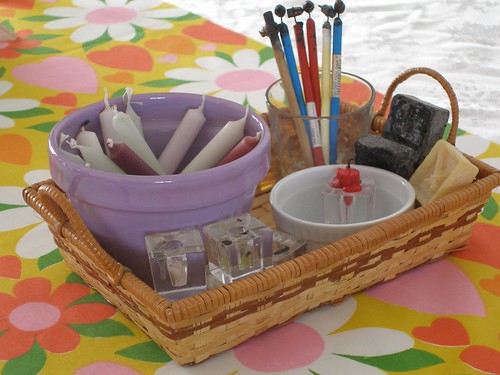
To find materials, I'd try looking for actual art supply stores in your area the month before Easter. Michael's and Hobby Lobby don't carry these. If you can't find any locally, try Kalyna Ukranian Egg Supplies online.
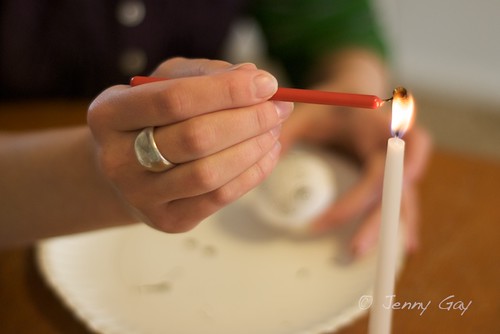
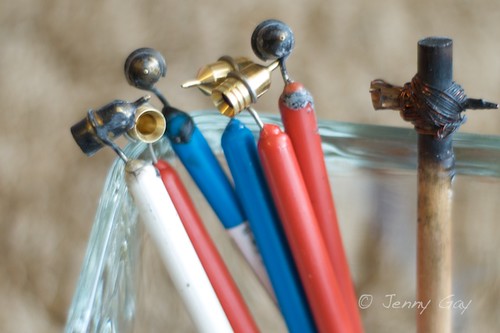
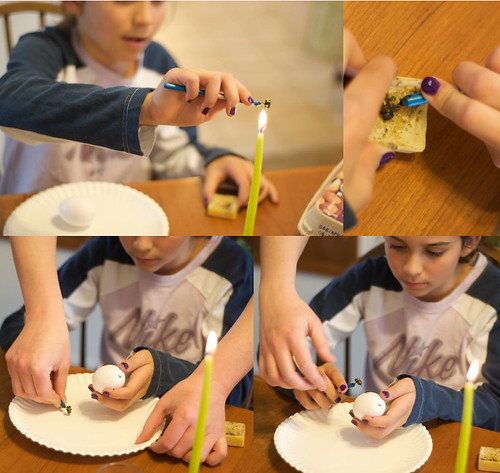
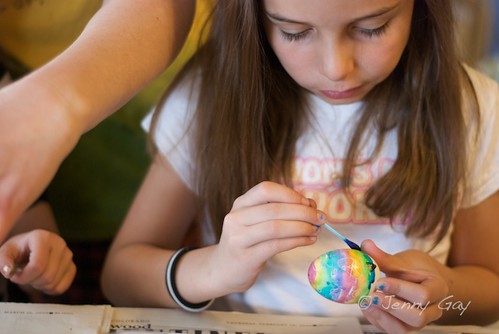
Basically, you heat the tool (called a Kistka) over the flame of a candle and use the cup-like part to scoop up the beeswax (either yellow or black, it really doesn't matter). Scoop slowly and if the tool is hot enough, it'll melt like butter. You shouldn't have to force it. Once you have enough melted wax in the cup, you can apply it to the eggshell through the pointed, funnel-like bit.
The plastic Kistkas come in three different sizes. White makes the thinnest line, blue is medium and red is the thickest. They also have the traditional wooden version, but none of us particularly like to use that one.
Whatever color the eggshell is when you apply the wax, it will stay that color. So you'll want to start by applying wax to any areas you want to stay white, then dye it the next lightest color, like yellow. After you've waxed any areas that you want to stay yellow, you go to the next, slightly darker color.
This process works just fine with the stuff that you can get at the grocery store. Though we usually use the dyes specific for Pysanky. You should know, however, that these dyes are not food safe, so you'll want to blow the eggs first if you plan to use them.
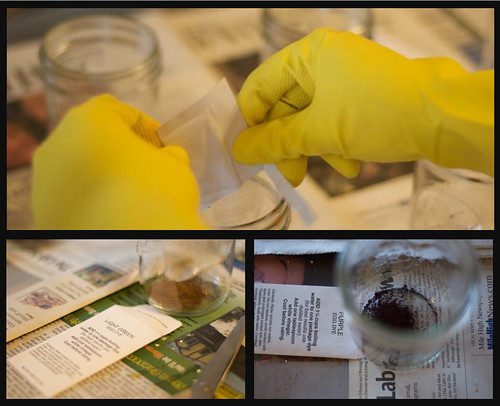
I mix them up in wide mouthed mason jars and just reseal them after we're done. We'll use them over and over for several weeks.
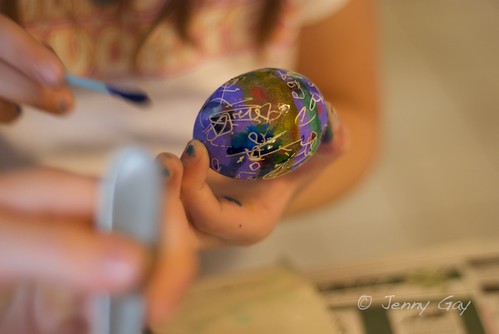
They work so well that they can be applied with a q-tip if you don't want to dip the entire egg as it's traditionally done.
The original directions had us hold the egg over the flame of a candle as a final step to melt off all of the wax. I found this too tedious and, besides, my eggs usually ended up with char marks.
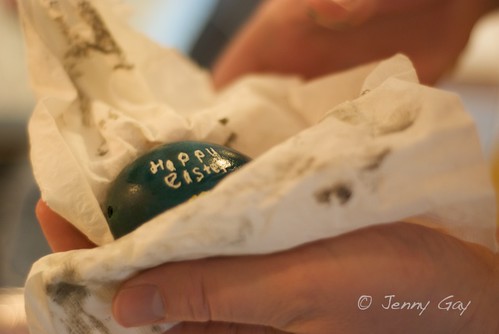
So instead, we stuck them in a 300 degree oven for a couple of minutes (on a disposable pie plate, which we use year after year) and then wiped all of the wax off with a paper towel. If it feels at all sticky as you rub it, put the egg back in the oven for a few more minutes. All of the wax should come right off.
Note- This year (2010), Joey has graduated to official wax melter. She has assumed total responsibility for this process. And I don't blame her. It really is the most satisfying part.
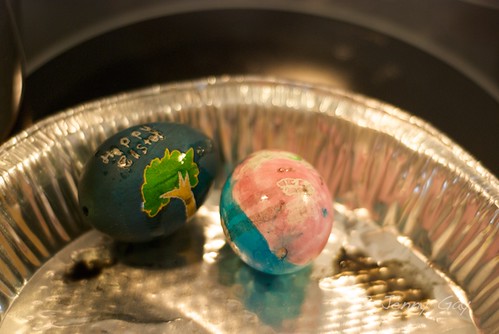
Pretty, messy and slightly dangerous. Just our kind of project.
--------------------------------
Enjoy this? Get more like it by subscribing to my RSS feed
------------------------------
Related Posts-
Easter Prep (for Blown Eggs)

Less Frustrating Ways to Dye Blown Eggs

Egg Drying Rack

Hanging Blown Eggs

Indoor Easter Garden


9 comments:
"Pretty, messy and slightly dangerous." That sounds like a good craft for our family, too! Thanks for sharing. They look great!
This looks really fun. Where do your get the tool. My boys love messy and dangerous!
Oh, and I forgot to thank you for the book recommendation, Perfect Health for Kids. I'm looking into getting it. Totally my kind of thing.
Beautiful! I have a kit for this that I've been hoarding until my Small Person can handle the open flame aspect. They are hard to find around here, though. Where did you locate your supplies?
I bought the tools (called Kistkas) at a local store (Meininger's, if you're in Colorado, though they only have them before Easter). And they're sort of hard to find online (neither of my go-to supply sites have them).
I just did a search and found them at Kalyna Ukranian Egg Supplies. We use both the old fashioned wooden kind as well as the plastic, but I think most of us prefer the plastic ones.
more pictures please.
Jenny's set of Easter photos are here... http://www.flickr.com/photos/jengay/sets/72157603895955277/. There's quite a few of the dying process.
very cool project with the wax, can't wait to try it myself
Awesome, thank you! I might have to order them now and hoard them for a year.
Post a Comment