And even though I haven't been around for her *entire* life, I have been helping to raise her since she was like 3.
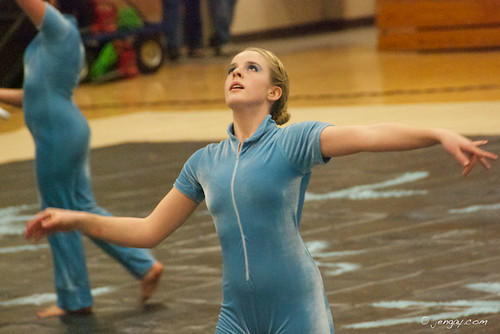
Consider my mind blown, especially since she's grown into a gorgeous young lady who can do this.
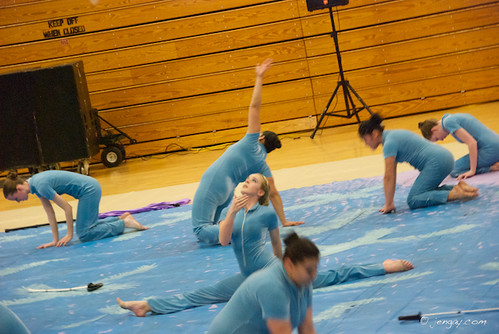
(just about to catch a sword after dropping into the splits, something, though I've never actually attempted, I'm pretty sure would land me in the emergency room, one way or another.)
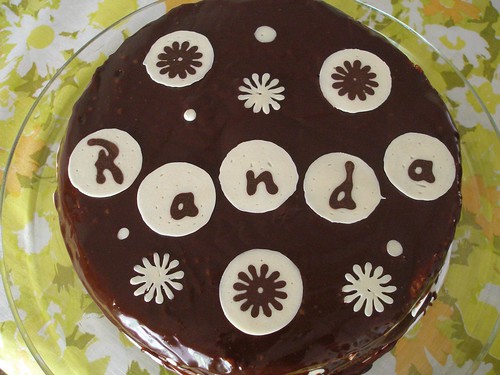
Anyway, for her birthday her daddy thought she needed a homemade Boston cream pie (one of his birthday specialties). I thought she needed pretty little decorations (as opposed to yet another birthday portrait).
Here's what we came up with.
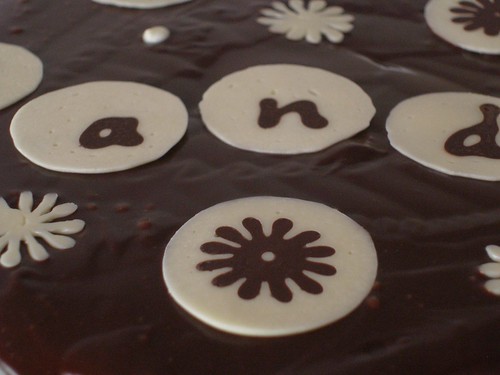
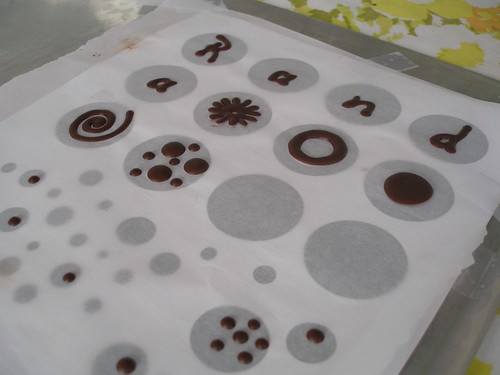
These look somewhat like fondant, but since I think fondant is a bit yick, I stuck with chocolate.
To do this, I first created a page with circles and letters and other designs on the computer. Then stuck that underneath a piece of parchment paper, just like we did for Jeff's birthday. Though this was much easier and didn't require a light box.
Basically, you'll want to make sure that you end with a contrasting color to the frosting (white in this case), so start with the other color.
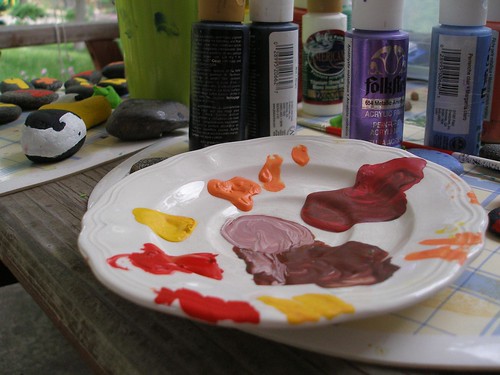
The trickiest part of all this is getting the chocolates to the right temperature. I just heated them individually in the microwave, 10 or 15 seconds at a time, stirring in between.
I found that dark chocolate worked best at about 85 degrees, while white chocolate needed to be up near 105. Basically, you'll want it to flow out pretty easily, but not so much that it spreads too much after you make the design.
Once you've done the first color, move them to the fridge, otherwise it takes way too long to set, especially in the summer. Then fill in the rest of the design with the contrasting color. That's it.
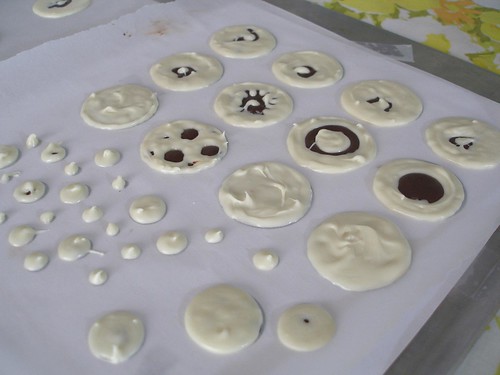
And don't worry that this side is ugly. It will be facing the cake. The side that's facing up will be all pretty and smooth like in the first picture.
Which brings me to, Yay, another Don't Do What Donnie Don't Does. Don't forget to horizontally flip the letters so they appear backwards.
Which I did.
Forget, that is.
Otherwise you'll end up with this.

And will need to start all over.
These also make fun individual toppers for cupcakes.
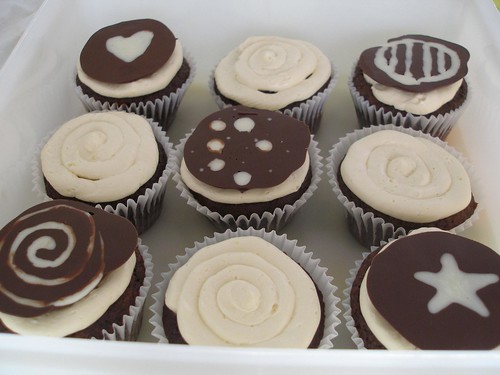
Fun and accessible project for the kids to do!
------------------------------
Related Posts
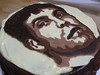
Chocolate Portrait