(This year I didn't cut any live branches, so I pulled out my necklace tree for a decoration, as I sometimes do.)

Personally, some of my favorite materials to hang them with are plain ol' ribbon, embroidery floss and even the silk ribbon that's used for embroidery, which I would say I have a plethora of.

As for how to actually attach it to the egg... well, the method I most often use involves buttons, because I love buttons, especially fun vintage buttons.
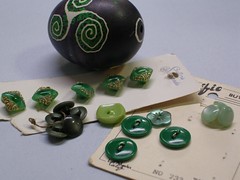
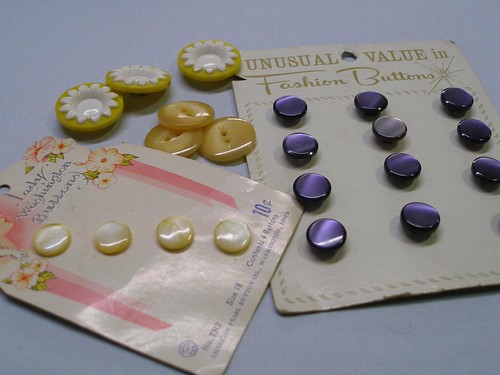


You can do it one of two ways. First of all thread the floss (or ribbon) through the button like so.
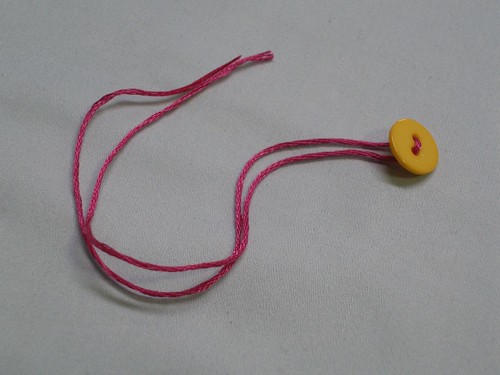
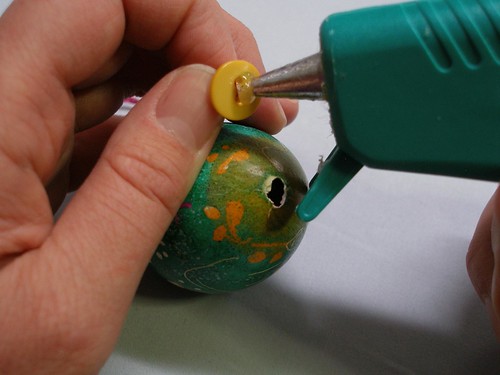
And then you can either simply glue the button to the top of the egg (my preference is for hot glue because it sets so quickly).
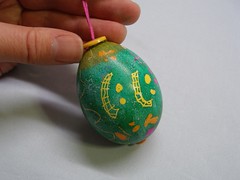
Or, once you've run it through the button, you can thread the ribbon up through the bottom of the egg and out the top. This will hold it in place with no need for glue at all. But it does require you to thread it through the egg, which can be tricky.
I've found a piece of floral wire to be incredibly helpful for this process, especially if either of the holes is particularly small. Note- I just realized that if you don't have this wire, you can straighten out the little egg dipper that comes with most egg dying kits. It's about the same gauge and length as what I used.
Just glue the ribbon to one end of the wire with hot glue (it works brilliantly for this as you can peel it right off).

Poke the wire up through the egg and pull the ribbon out the other end.

When you pull the ribbon taut, the button will hold everything in place.

Now here's the part of the post where I deliver on my crafty geek promise from last week. This idea pleases the OCD parts of my personality to no end.
I'm talking metal embellishments, people.
Either the silver or bronze, industrial grommets or the cutsie, painted, scrapbook eyelets. Snaps also came in handy (both functional and scrapbooky).
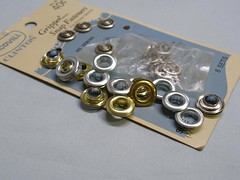

With these I was able to replace a jaggedy hole with such cuteness I thought my eyes might melt. OK, so it's not really all *that* cute, but it is damn satisfying.
I dare you to tell me it's not.

You may have to expand the hole just a bit to fit these down in there. You can use a pin to do it, but a dremel tool works wonders.
And check out this before and after. (Jeff did the one on the left and Joey did the one on the right. Aren't they fab?)
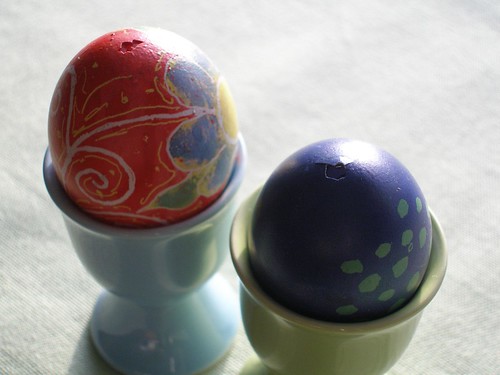

I used the solid little guys (snaps, it says on the packet) to plug up the bottom holes. For some eggs, I just glued it right in there.
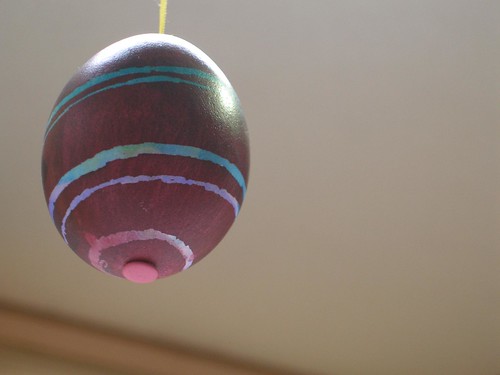
And for others, I threaded it up from the bottom like I did with the buttons above.
This time, because the top hole was bigger, I just bent the floral wire to hook it around the loop of embroidery floss (which I'd already glued to the snap).
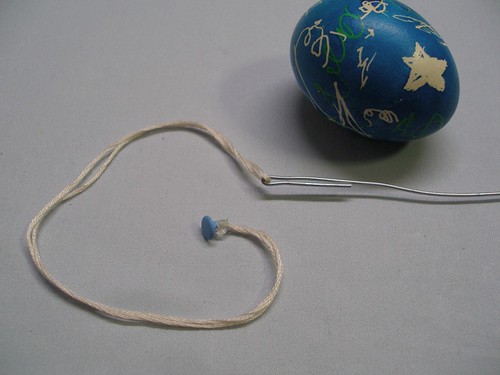
Then I pulled it through the egg and the snap held it firm.

After that, I slid one of the eyelets down over the floss at the top and glued it in place.


I have to admit, this last picture satisfies me to my very core.
Now, I didn't include all of these methods and materials to imply that you need to go out and buy a bunch of stuff. I took all these pictures to show you how many options you have. My guess is that a lot of you crafty types probably already have enough of these to start hanging eggs now.
You know, if you want.
--------------------------------
Enjoy this tutorial? Get more like it by subscribing to my RSS feed
------------------------------
Related Posts-
Easter Prep (for Blown Eggs)

Less Frustrating Ways to Dye Blown Eggs

Ukrainian Egg Dying

Egg Drying Rack

Indoor Easter Garden


15 comments:
Perfect!! That is a brilliant idea to cover up those litte holes.
amazing!
i love all the different buttons and thread options, and your eggs are painted to perfection!
I would never have thought of those hole things, Wendy!
(Are some of those buttons left over from Granny and Sandy?)
Your egg posts are just fabulous! Will be linking on Dabbled.org :)
Brilliant! We were just trying to figure out how to do this.
Ok, that's just genius to put those grommets in there!
Thanks so much, everyone.
And, Linda (Wander), some were my mom's and some of them were my Grandma Gay's. After she passed away, my Grandpa had us granddaughters go through her sewing room. I was the only one who appreciated the buttons so I ended up with quite a few of them.
Your easter egg posts are AWESOME!!! --R. Fungus.
How TOTALLY AWESOME!
Now I'm feeling extra guilty that we didn't even color eggs this year...with everything going on for the Big Boy birthday!
I am soooooooo impressed, I am AGOG.
Like, jaw-dropped, fanning myself, bug-eyed agog because these are so goshdarn cool. You SHOULD be impressed heartily with yourself and those ribbon, button, and grommet/eyelet/snap thingies!
Wow. :)
these are amazing. really, seriously, amazing. will be linking to this on facebook fo shizzle!
So clever! I'll be linking in my "Week in Review" over at Ready, Set, Craft! tomorrow!
http://www.readysetcraft.blogspot.com
I made a batch of muffins and scrambled eggs for five in order to have some blown eggs for this project.
However, when I went upstairs for a few minutes, my children got a hold of my eggs... Dad said, I hope you aren't doing something you aren't supposed to be doing, and my sweet little three year old said, Daddy, Mommy said we can have these, and we can have fun breaking them!
I came down stairs to find a bowl of "shell soup" my children had made me.
Committed Recycler, I would have cried!
awesome ideas for covering the hole and hanging eggs.
Post a Comment