


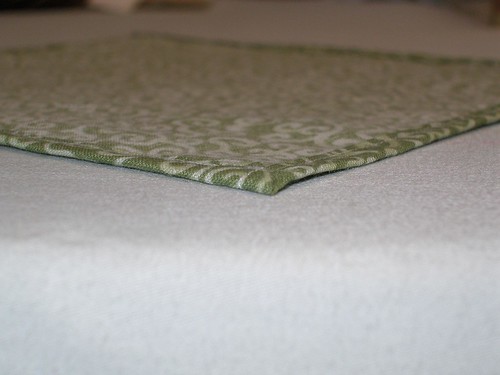
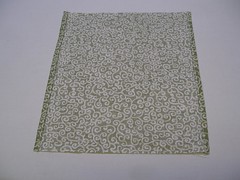
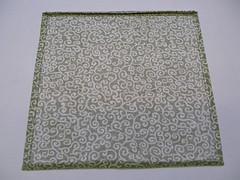
Just look how flat they are.
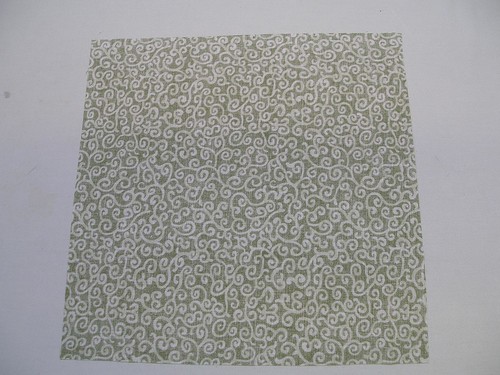
Cut the piece square (90 degree corners) if you care about it being even at the corners. This really is pretty square, despite the camera angle making it look off.
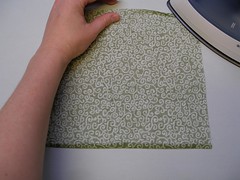
With the right side facing down, iron down a 1/4 inch seam.

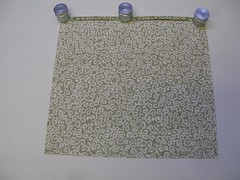
Fold seam down another 1/4 inch and iron. (Using fabric weights- these were my moms- to hold fabric til cool really helps the seams stay. If you don't have these type of weights, things like flattened glass marbles will work.)
Do the opposite side.
(Note- I did not pin these. Sometimes, depending on the fabric and how well it holds a seam, I do.)
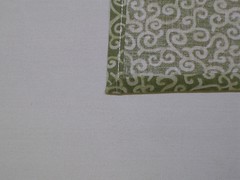
Sew both seams very close to the inside edge.
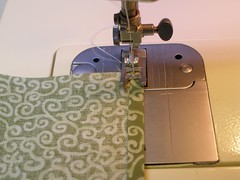
Two sides sewn.
Fold all corners in like shown, creating 4 right triangles (only the 2 left ones have been done here so far).

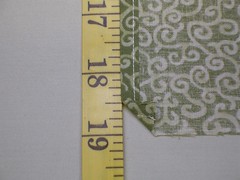
Close up of one triangle. The sides should each be 1/2 inch.
Fold and iron one unsewn edge in like shown (1/4 inch) so that the edge is even with the top of the triangle.
Now fold same edge in another 1/4 inch. The diagonal edge should line up like this.
Fold the opposite side the same way.
Sew these seams the same as the first set, starting at the edge of the diagonal fold.
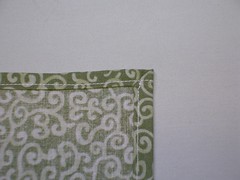
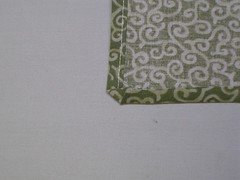
Finished backside
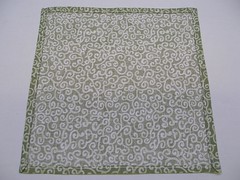
Finished front

Note- Obviously, using a matching thread will look better. I used white to make it more visible for the tutorial.

1 comment:
Thank you for posting this! I just discovered your blog, and at a very timely point to! I am making my Mother a teapot cozy, matching coasters and napkins. Now I will be able to make perfect corners!
Post a Comment