From conception to completion this project took less than 48 hours, which just might be a new personal record. Also it cost less than 10 bucks.
And just in case that wasn't enough wonderfulness, I also managed to line the drawers of our
butcher block island with some of the leftover paper.
So it was like two projects in one.
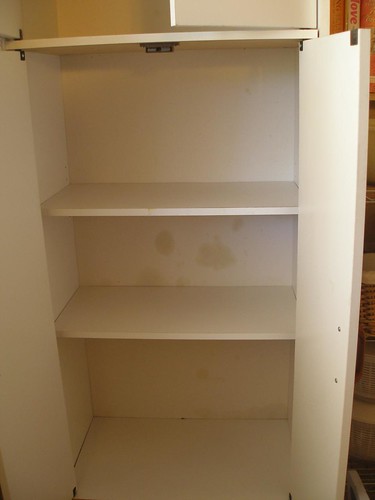
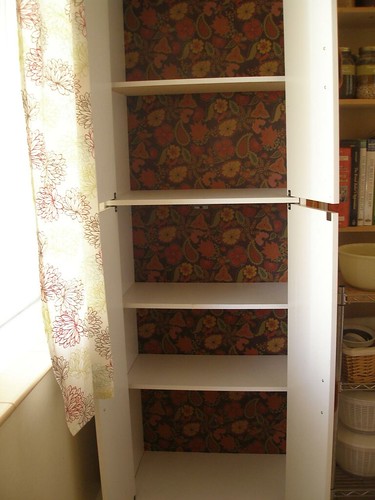
It started as I was pulling everything out of our pantry (which is really just a large stand-alone cabinet in our kitchen). This sucker was here when we moved in and until our kitchen magically grows itself some extra storage space, it's gonna stay right where it is. Anyway, after I pulled all the cans and boxes out, I realized just how very, um... unpretty the inside of it was.
So I decided to do something about it.
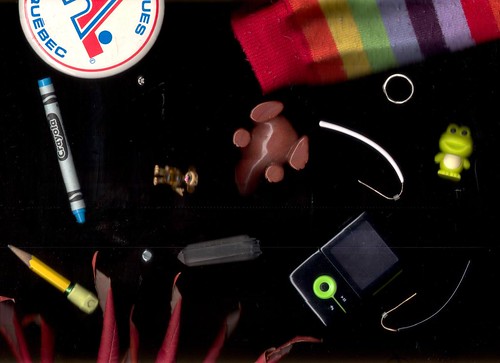
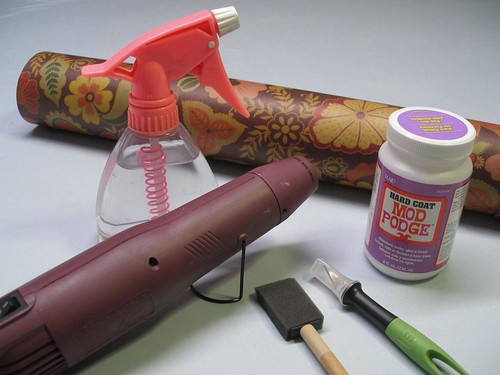
Here are the Materials I used
- spray bottle filled with water
- wrapping paper (mine came from Cost Plus) 4 bucks
- Mod Podge- Hardcoat (I bought mine at Michael's with the weekly 40% off coupons) 5 bucks
- sponge brush (you might want to get one that's bigger than the one in the picture)
- heat gun (like for scrapbooking) This isn't totally necessary, but certainly came in handy. I'm guessing that a blow dryer would work too, but I can't say for sure as ours is old and no longer puts out any heat, just cold air.
Now I won't lie to you. Mod Podge is really fiddly to work with. It puckers right the hell up, no matter how carefully you smooth as you go. There is a reason that decoupage involves small little pieces of paper and not big sheets. But I managed to get results so I thought I'd give my thoughts on the process.
How To
- First I removed the back from the cabinet. It left the cabinet itself a bit wobbly, but I kept the doors closed and it survived the process.
-Then I went to work on the the back, sealing up any greasy looking stains with one coat of Mod Podge (MP) and letting it dry completely.
-Starting at one end, I applied a thin coat of MP in sections about a foot long, then smoothed down the paper while my lovely assistants (first Jeff then Joey) held the remaining paper up off the surface. Note- When attaching the first bit of paper, I let some of it hang off over the sides.
-Then I applied more MP and smoothed down more paper.
-After the whole thing was in place, I DID NOT mess with the puckers that formed before my eyes. I learned the hard way that this only causes creases.
-Instead, working with one square foot section at a time, I misted it lightly with water, let it soak in for a minute and then hit it with the heat gun, which I moved back and forth quickly. This shrank just about all the puckers. I was so pleased with myself that I had to record the process. Here's a quick video of the magic.
-After I had it all attached, I let it dry overnight.
-Then I flipped it over and, using an exacto blade and a cutting mat, trimmed the excess paper.
-Back on the pretty side, in order to protect the surface, I did 3 top coats of Mod Podge section by section, letting it dry for 30 minutes between each coat. The first of these did cause some more puckering, but not nearly as much as before. I used the heat gun when necessary.
-Then I nailed the whole thing back in place and called it a day.
Done and done.