Some of you may have noticed the butcher block surface under much of the food I photograph.


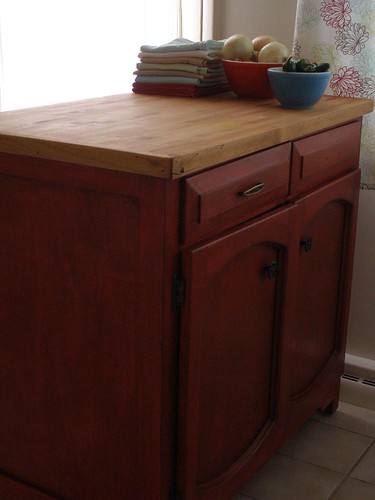
It is the top to a movable kitchen cupboard that used to belong to my mom and that I adore, despite it's wonky drawers, missing handle and doors that don't quite stay closed. But I thought we might be able to do something about the cabinet part of it, which was getting pretty beat up. We decided on a red color to pick up the color in the curtains.
So I started searching the internet for an eco-friendly stain. I found two of them, but only the
BioShield was available at a local retailer. So being the impatient person I am, I bought that. And then Jeff and I spent the next week and a half sanding.
Turns out I could have waited for delivery after all.
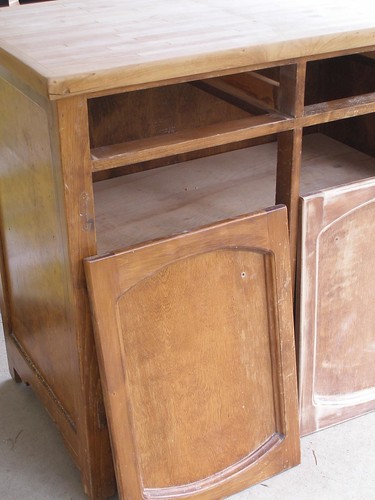
(beginning of the entirely ridiculous amount of sanding that Jeff and I did)
And here's my final opinion of BioShield stains. Though I'm happy with the way the project turned out, I wasn't particularly thrilled with the stain itself mainly because it isn't at all like most stains. All traditional stains that I've used involve wiping on the product, letting it sit for a few moments and then wiping it off again, which gives a nice even surface. The BioShield dried so quickly that not only would it not wipe off, but I spent the entire project trying to blend in the marks from the previous brush strokes. Some of which I was never quite able to smooth out.
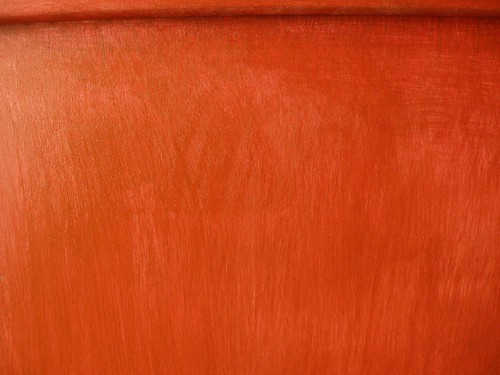
I did eventually work out a somewhat passable method that involved lightly applying the stain and then working the rest of it in with the mostly empty brush, but I'm not sure how to go about describing it here. Overall it really did behave more like a super quick drying paint than a stain. And it definitely had the tendency to go on too thick, hiding all the wood grain. In fact, the directions themselves suggest adding multiple coats, something that would have completely hidden the grain.
You can see more of those lap marks on the top right of the cabinet in this picture.
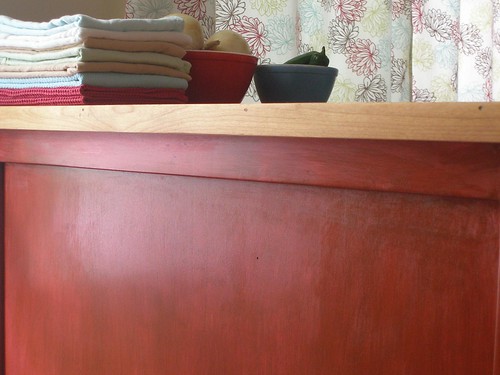
I'm not sure if these drying problems were because it was a fairly warm day and, as it always is in Colorado, very low humidity. Or if it's always like that.
But overall I'm pleased with the project, despite the finicky weirdness of the stain's application.
And for some people I bet it would be perfect.
First of all, this stuff comes in a range of
surprisingly bright colors. I've never seen wood stain this rainbow colored before. Secondly, if you don't care about being able to see the wood grain (something I definitely did want to be able to do), it would be easier to do multiple coats and create a really solidly colored surface without worrying about the brush strokes. The benefit of that would be that it would retain the surface texture of the wood as opposed to that of paint.
It also comes in small sizes which makes it easy to mix your own custom color. I mixed 2 of the crimsons with half of an ebony.
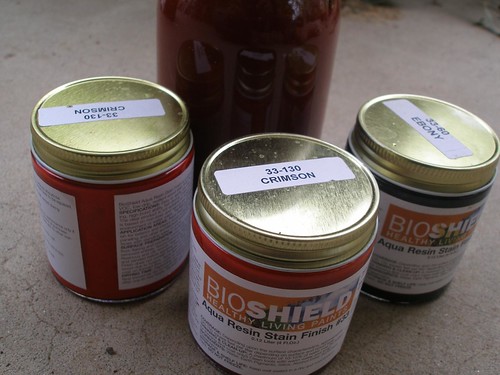
Finally, and most importantly, this stuff is solvent free, water based and zero VOC, all of which means that I could bring the finished piece right into our kitchen after it dried with no smelly chemicals and no worry of chronic health issues.
This entire project actually started when I decided to sand down the top of the block to remove a few year's worth of knife marks. Once I'd done that I started looking around for wood sealers, all of which, I was grumpy to find out, had mineral oil in them. Mineral oil, despite it's label as 'food safe', is still a byproduct of the petroleum industry. I won't even put mineral oil on my body; I'm not particularly keen to be using it where I chop my veges. Happily, when we were buying the wood stain, right next to it was a bottle of wood sealant with zero petroleum products. So as I stained the bottom cabinet, Jeff used the
BioShield salad bowl conditioner on the butcher block top.
So this 2 week project (most of which was taken up with sanding... next time I will pay someone to sandblast the damn thing) has finally come to a close and all our cake, pie and cupcake pans are all safely tucked back into their home and off of our dining room table. And, more importantly, their home has been finished with a fun new, non-toxic finish. Though I don't know that the cake pans actually care, at least not as much as I do.
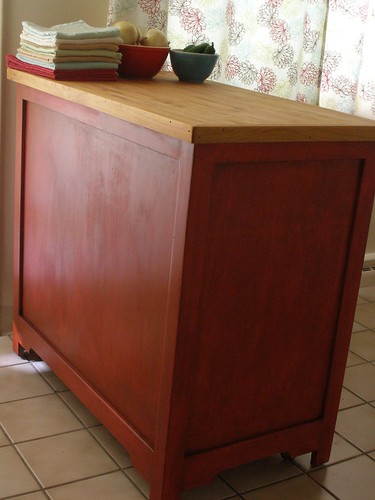
The only thing I have left to do is decide on the new drawer pulls, something which I know will take me months.


